Grape Street: Tiling A Backsplash and Transforming a Kitchen
Our kitchen is coming together! This weekend we worked our BUTTS OFF! We got about 60% of the kitchen tiled and feel pretty great about the results. We went with a white ceramic tile from Home Depot because we thought that we could get away with using this $20 tile cutter instead of having to invest in a wet saw.

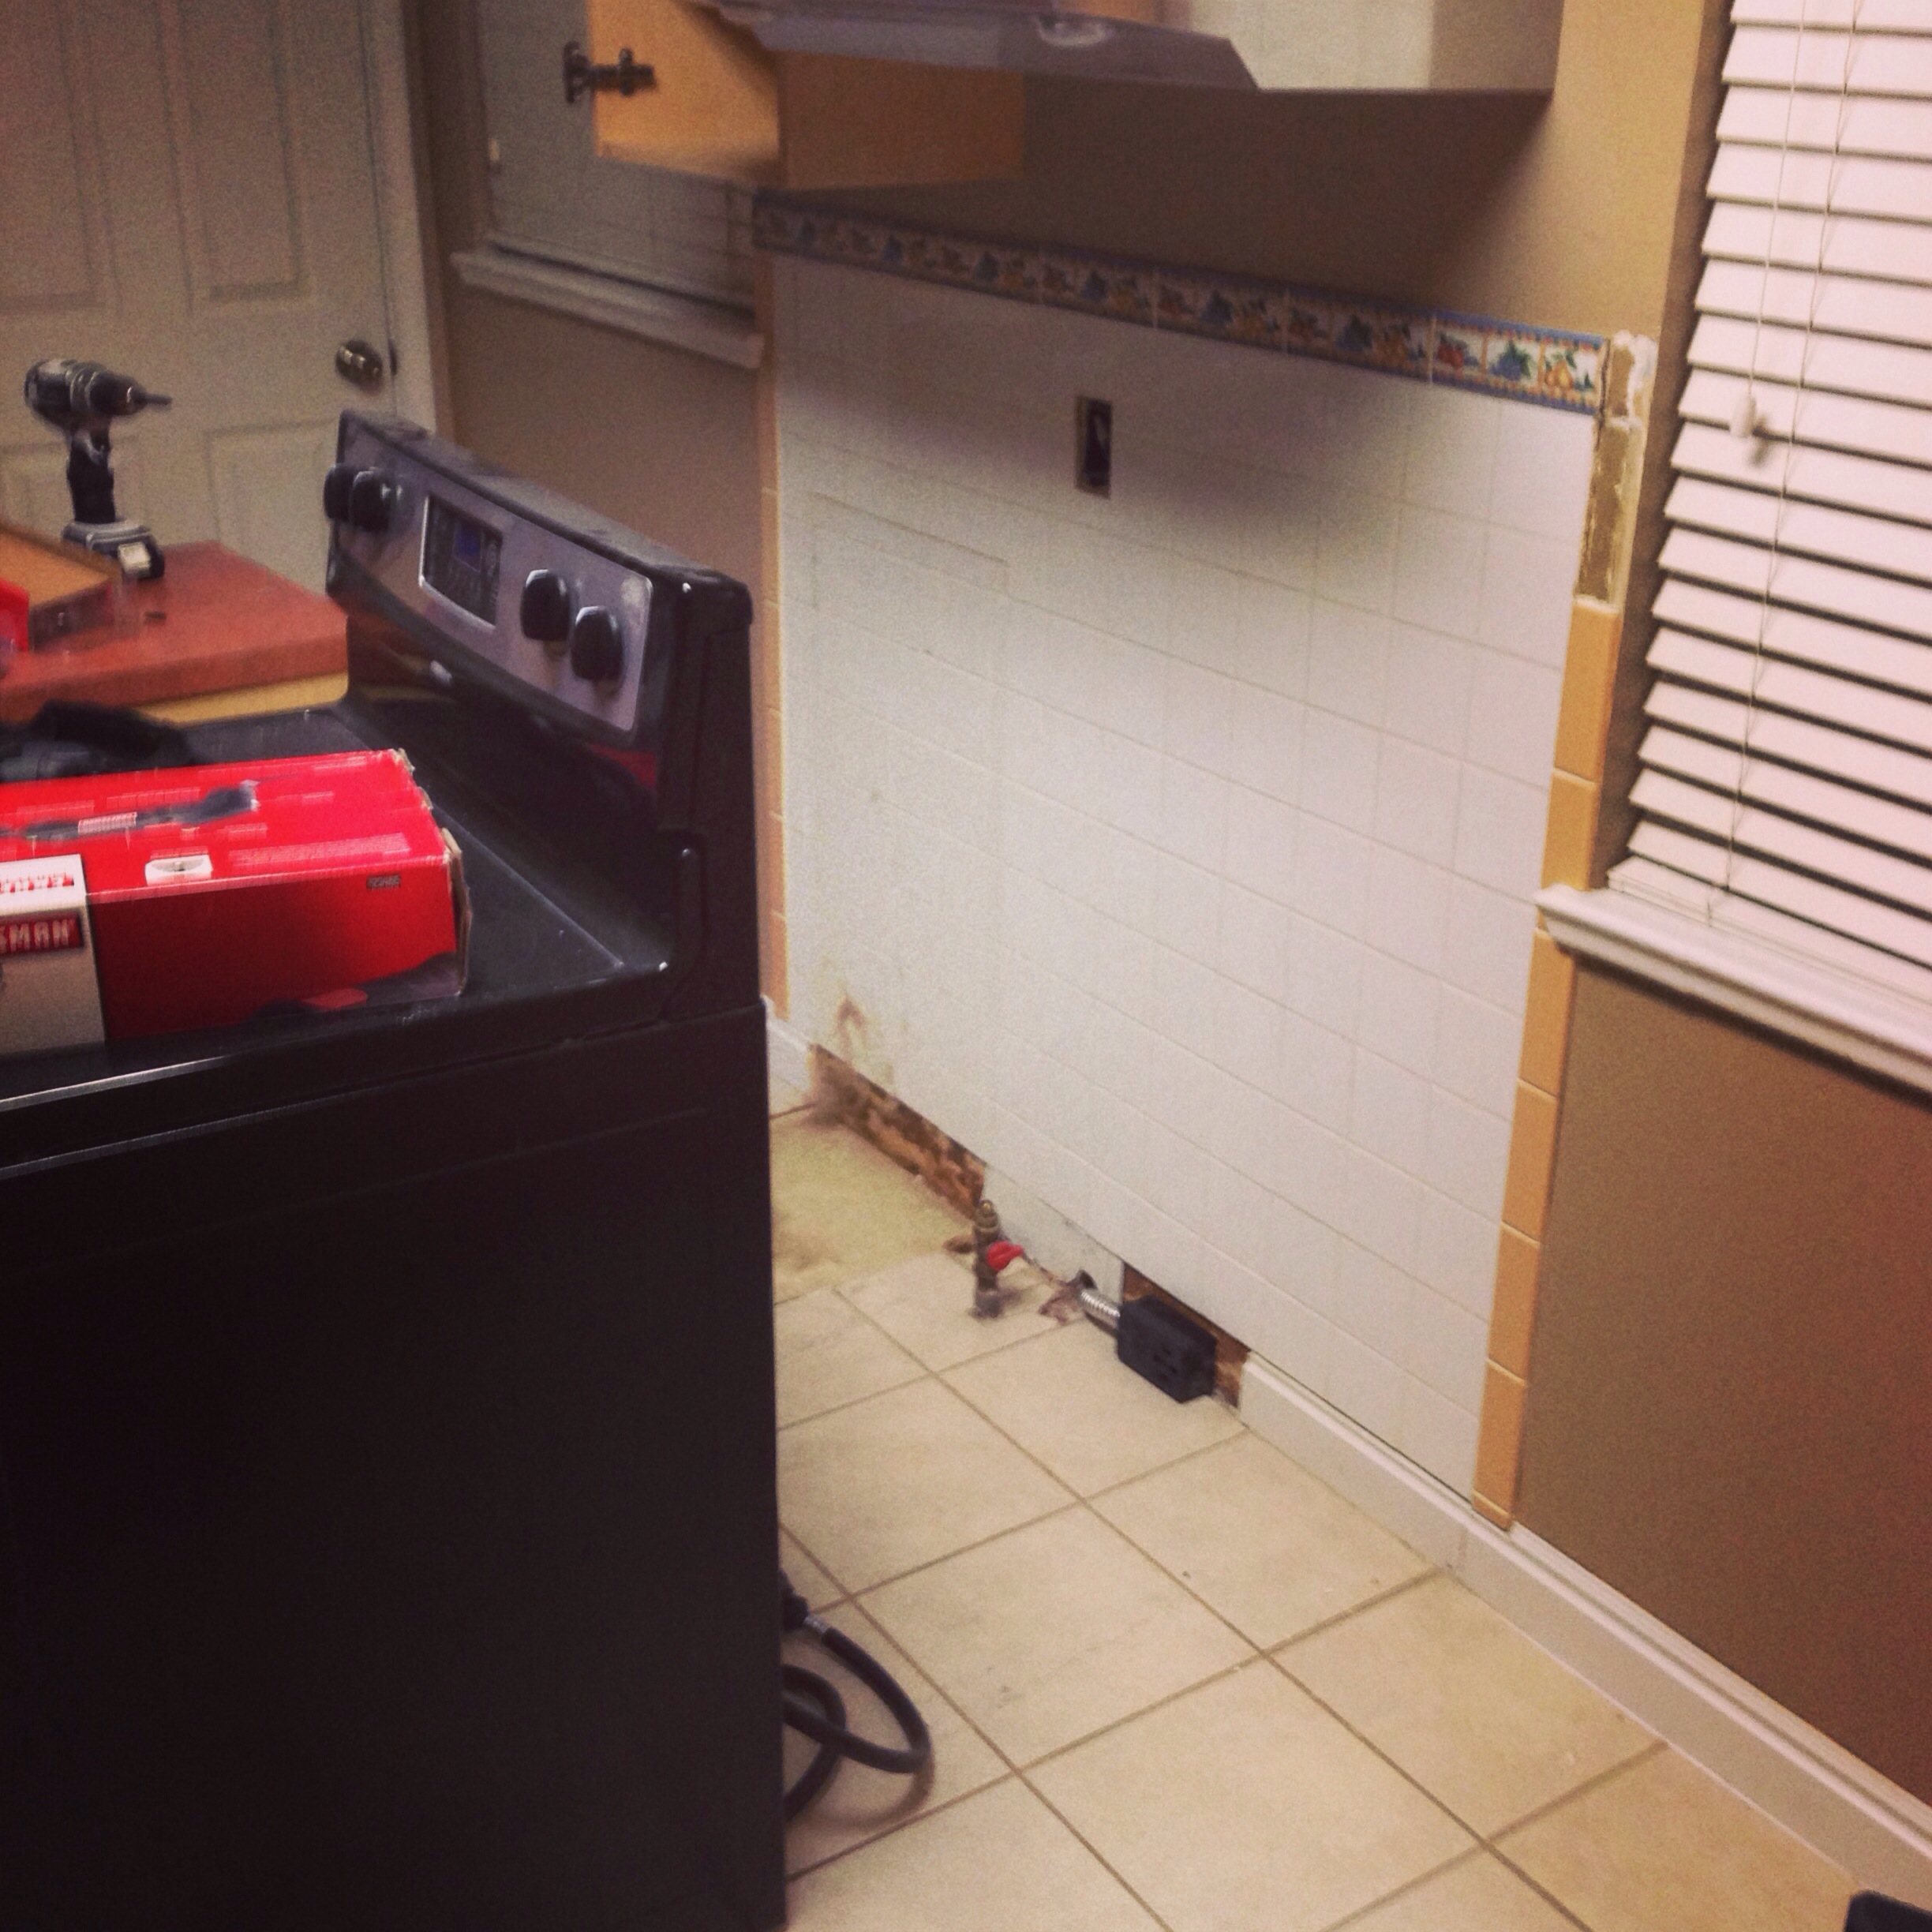
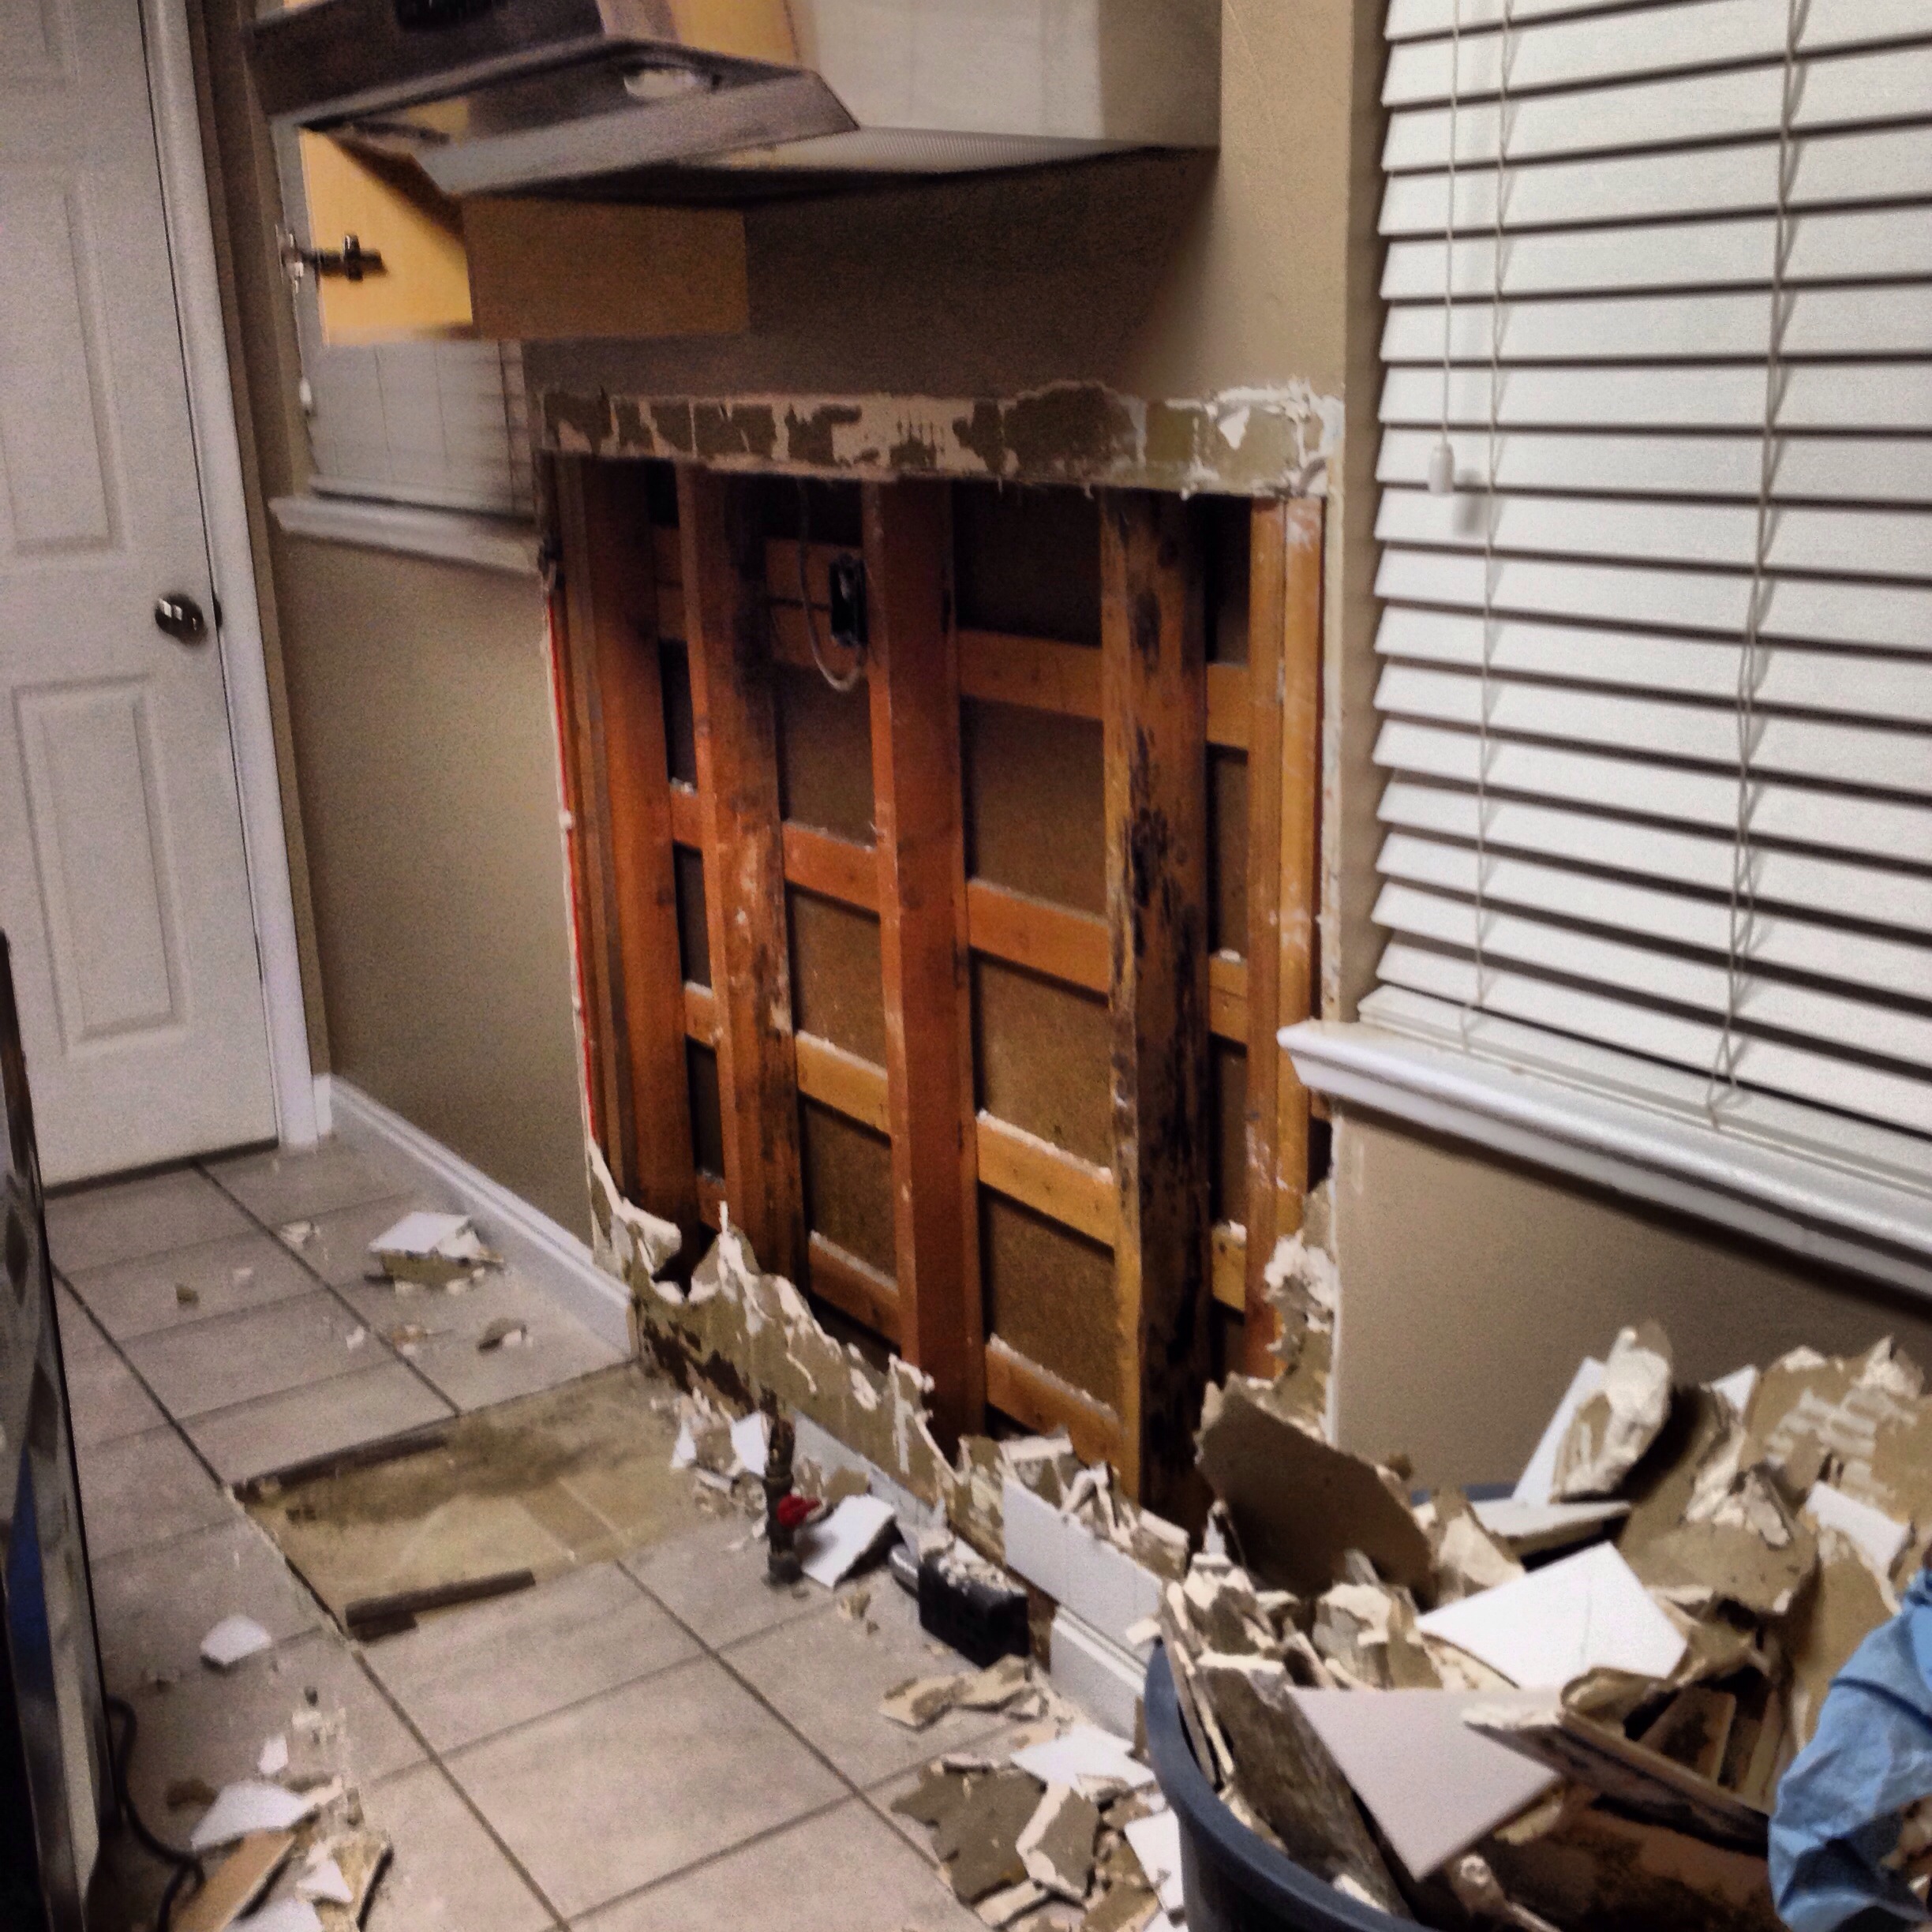
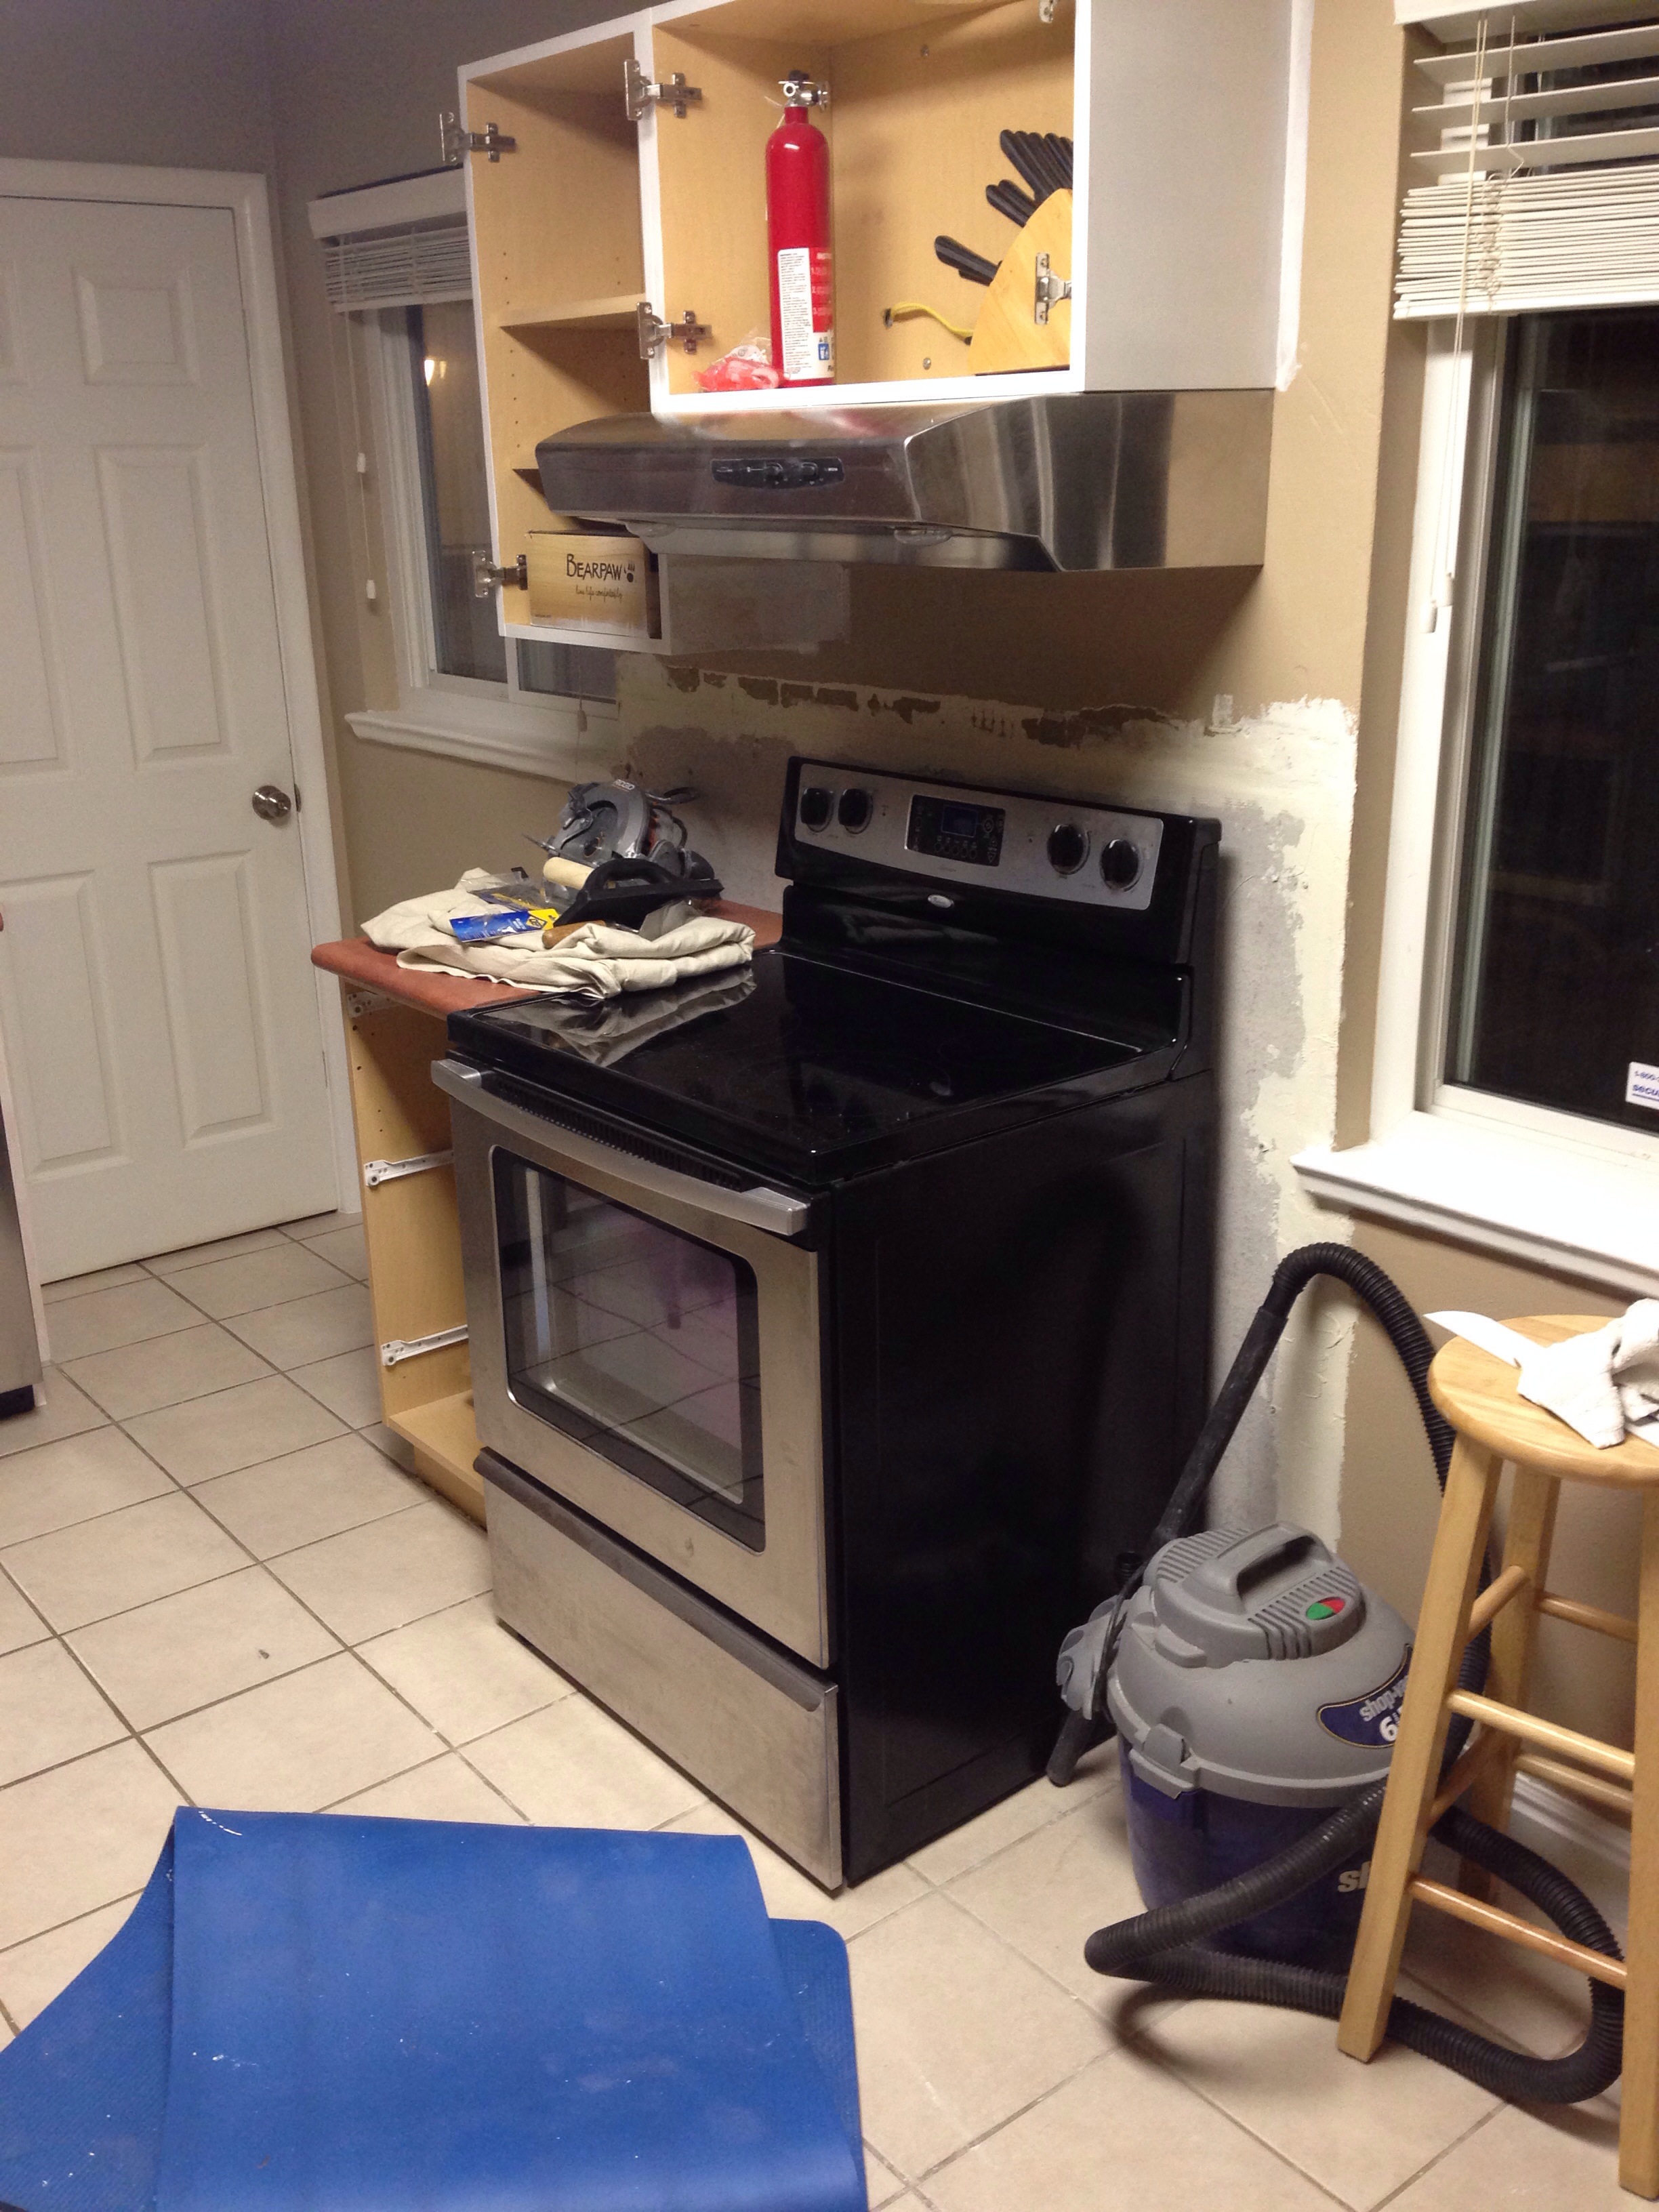
We were totally wrong. We broke about 20 tiles and wasted a ton of time try to use the regular tile cutter. So, after we slogged through getting this little nook transformed from this:
 To this:

We bit the bullet and bought one of these $90 wet saws from Home Depot and tackled the beast that is the wall behind the oven. We use this thinset mortor that was already pre-mixed and a 3/16th inch notched trowel. We just applied the mortor to the tiles, stuck it up there and went CRAZY with spacers (as you can see in the picture above). One random thought: how are the crappy spacers that exist still the best way to space tile? Is there no better product out there?
Here is a glimpse at this walls evolution. We couldn't be more proud of its progress.
To demo:
To Cement Board:
To a zoomed in picture of the tile without grout thus far:
And finally a cheaters sneak peek of what it is going to look like all done!

We used the same cement gray paint by Benjamin Moore in the kitchen that we used in the living room, dining and hallways.


