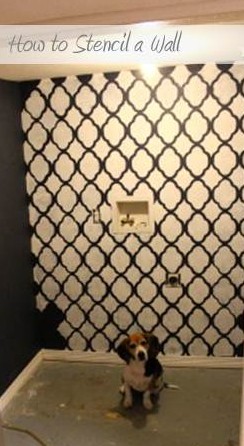
How to Stencil a Wall
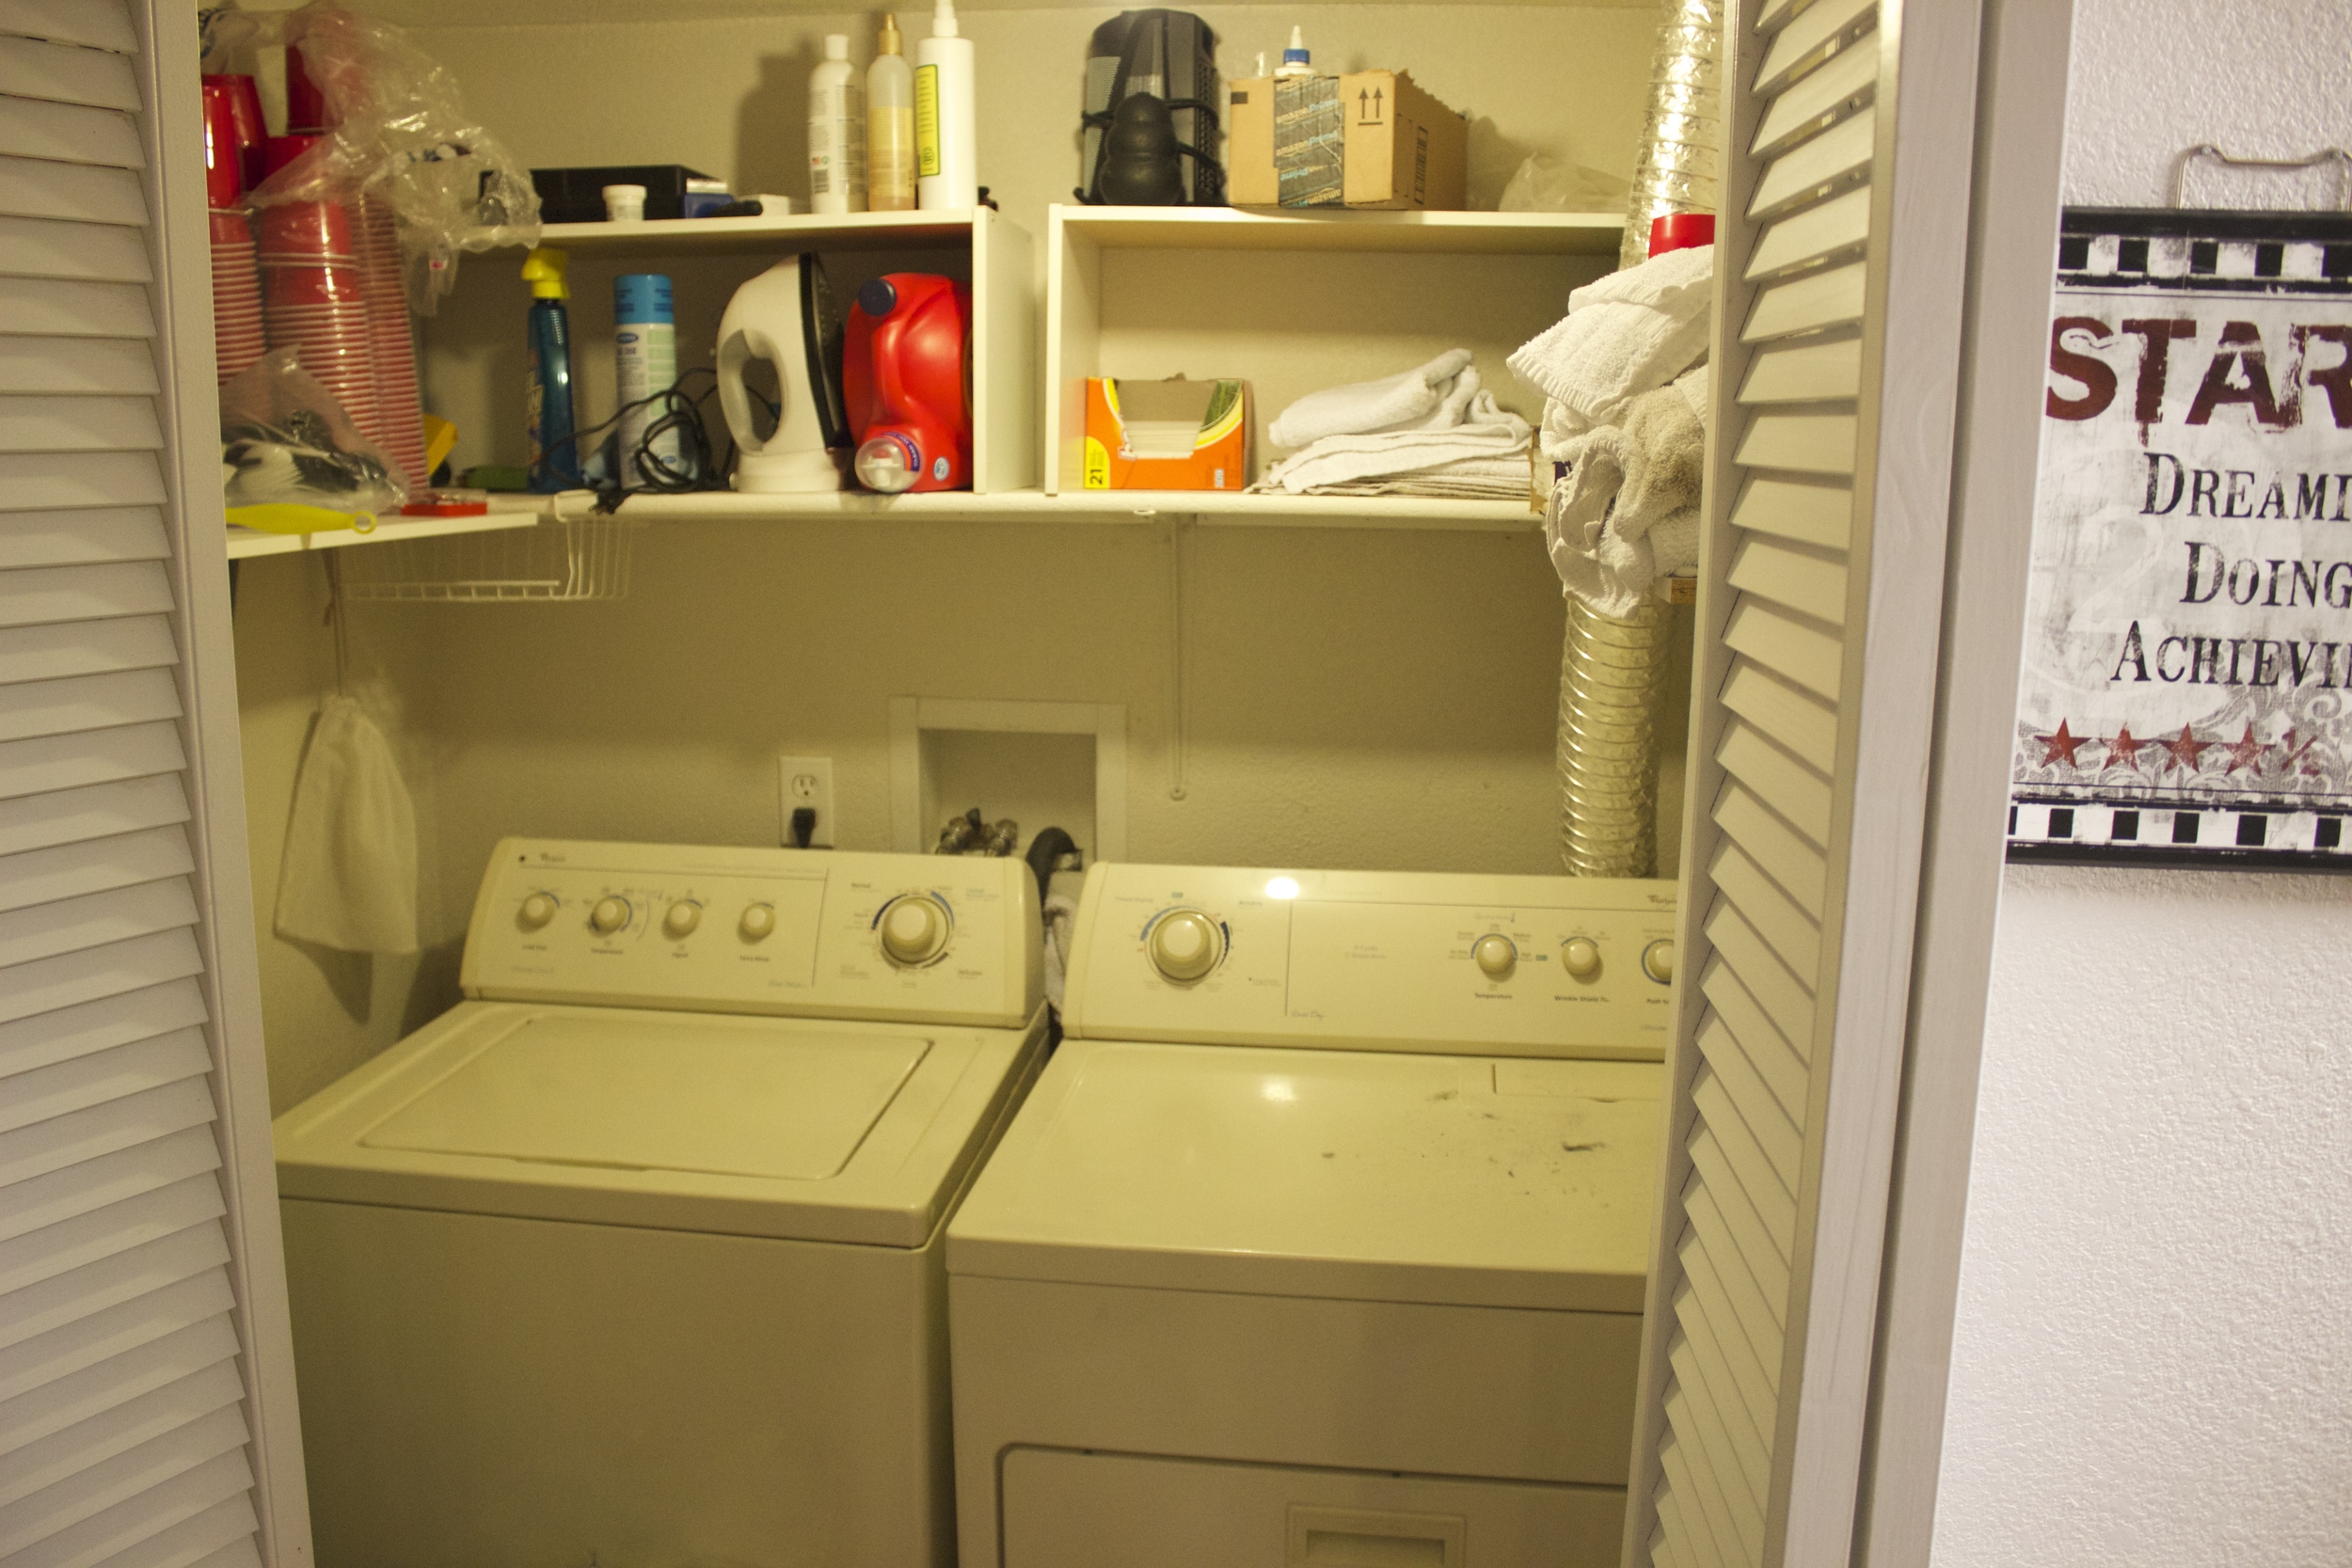
Alright folks! Hang on to your hats, stockings, shoes, and coats: today I am going to hit you with a "tutorial" on stenciling your wall. As you might remember, we started with a room that looked like this:
And our to-do for the basement looked like this:
Change curtainsPut up gallery wallGet a new rugand coffee table- A larger table for dining area?
- Fix caulking around the crown molding
- Tile the kitchen floor
- Add a backsplash
- Paint laundry room floor
Do something awesome with the laundry room, or this, or thisGet rid of the ugly laundry bi-fold doorsNew washer and dryer- New light in laundry
- New pendant lights over the island in the kitchen
- No more florescent light in kitchen
Then we painted it...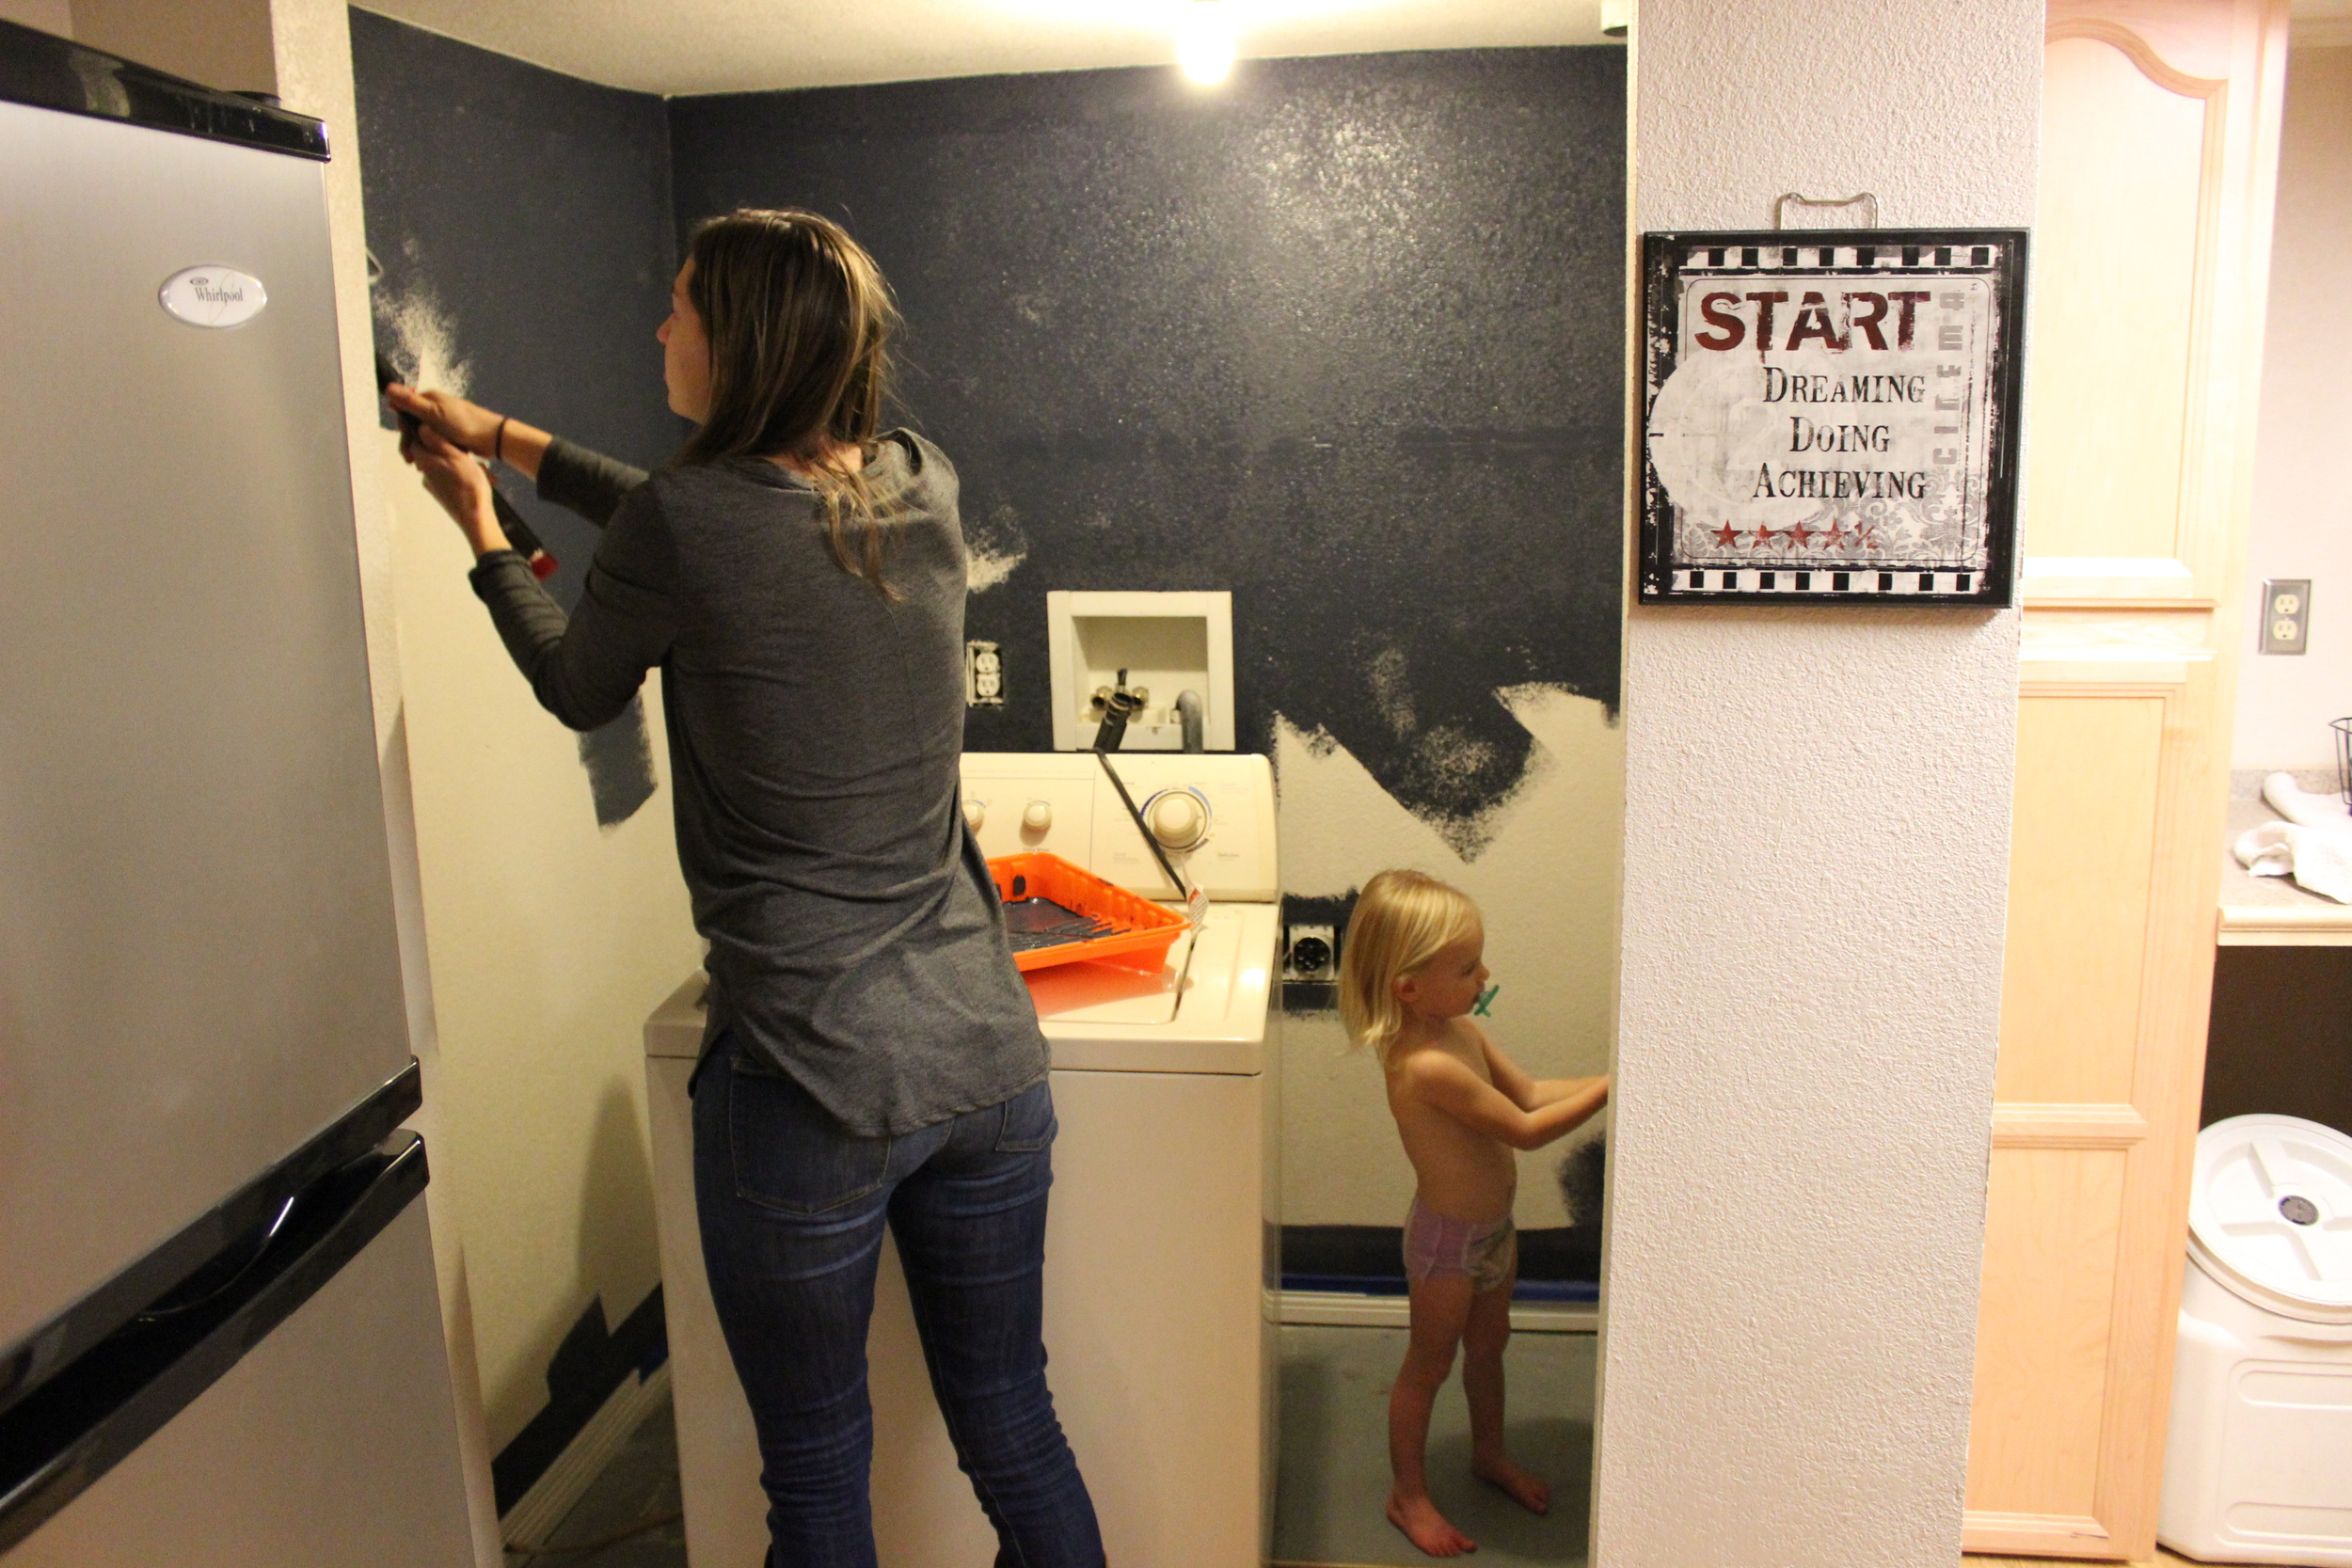
And I last left you with it looking like this...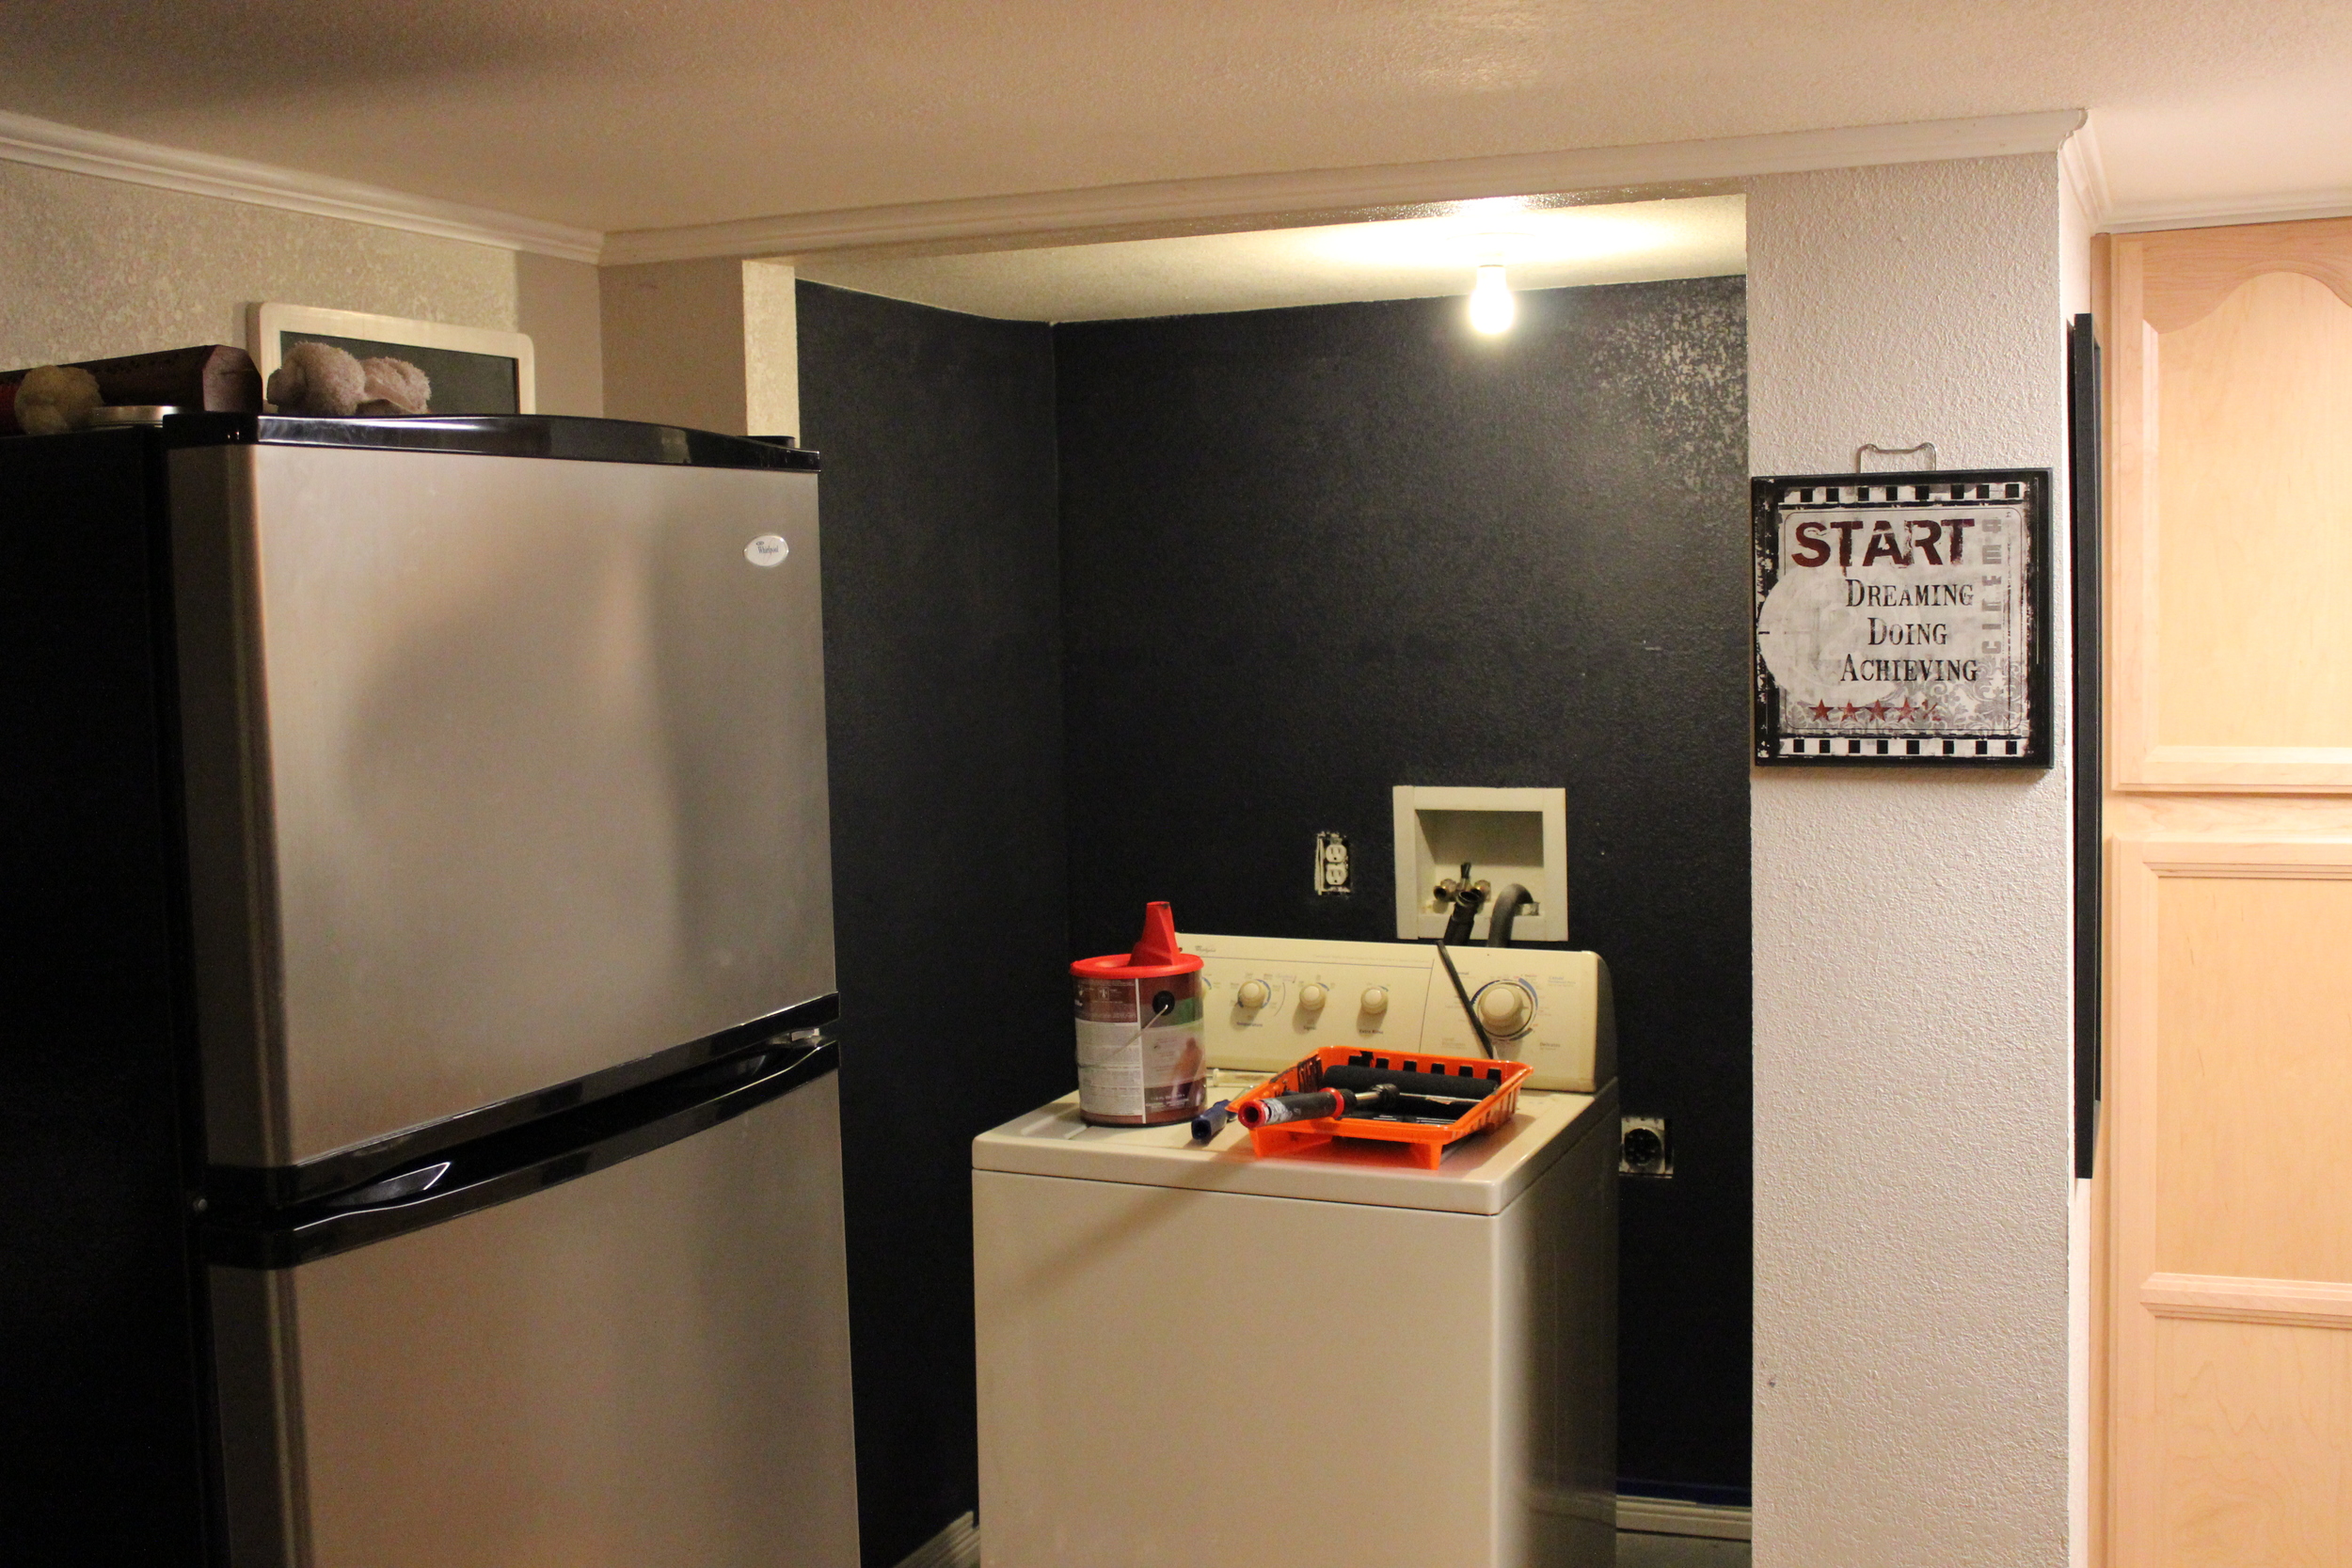
When we bought this house almost a year ago, I bought this stencil:
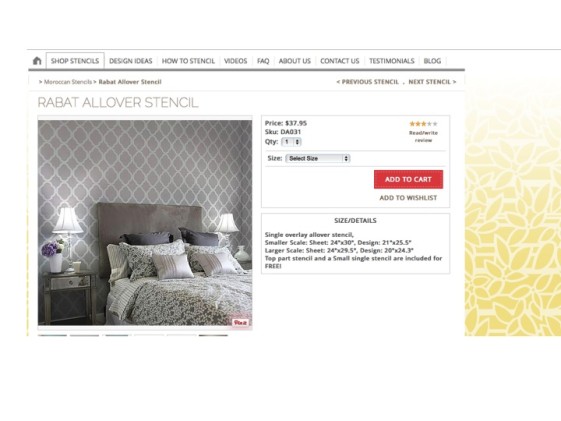
I figured that this relatively small space would be a good one to take this puppy for a spin. I spent Christmas Eve stenciling and then a few hours the weekend we got back. Here are my thoughts on this adventure in a VERY specific order:
- This is not a one person job.
- There will be mistakes on every single section and you will have to go back through and touch up nearly all of them.
- Doing it on a textured wall is NOT recommended.
- Use BEN by Benjamin Moore paint for the stencil (that is the brand I got for the white and it was definitely the way to go).
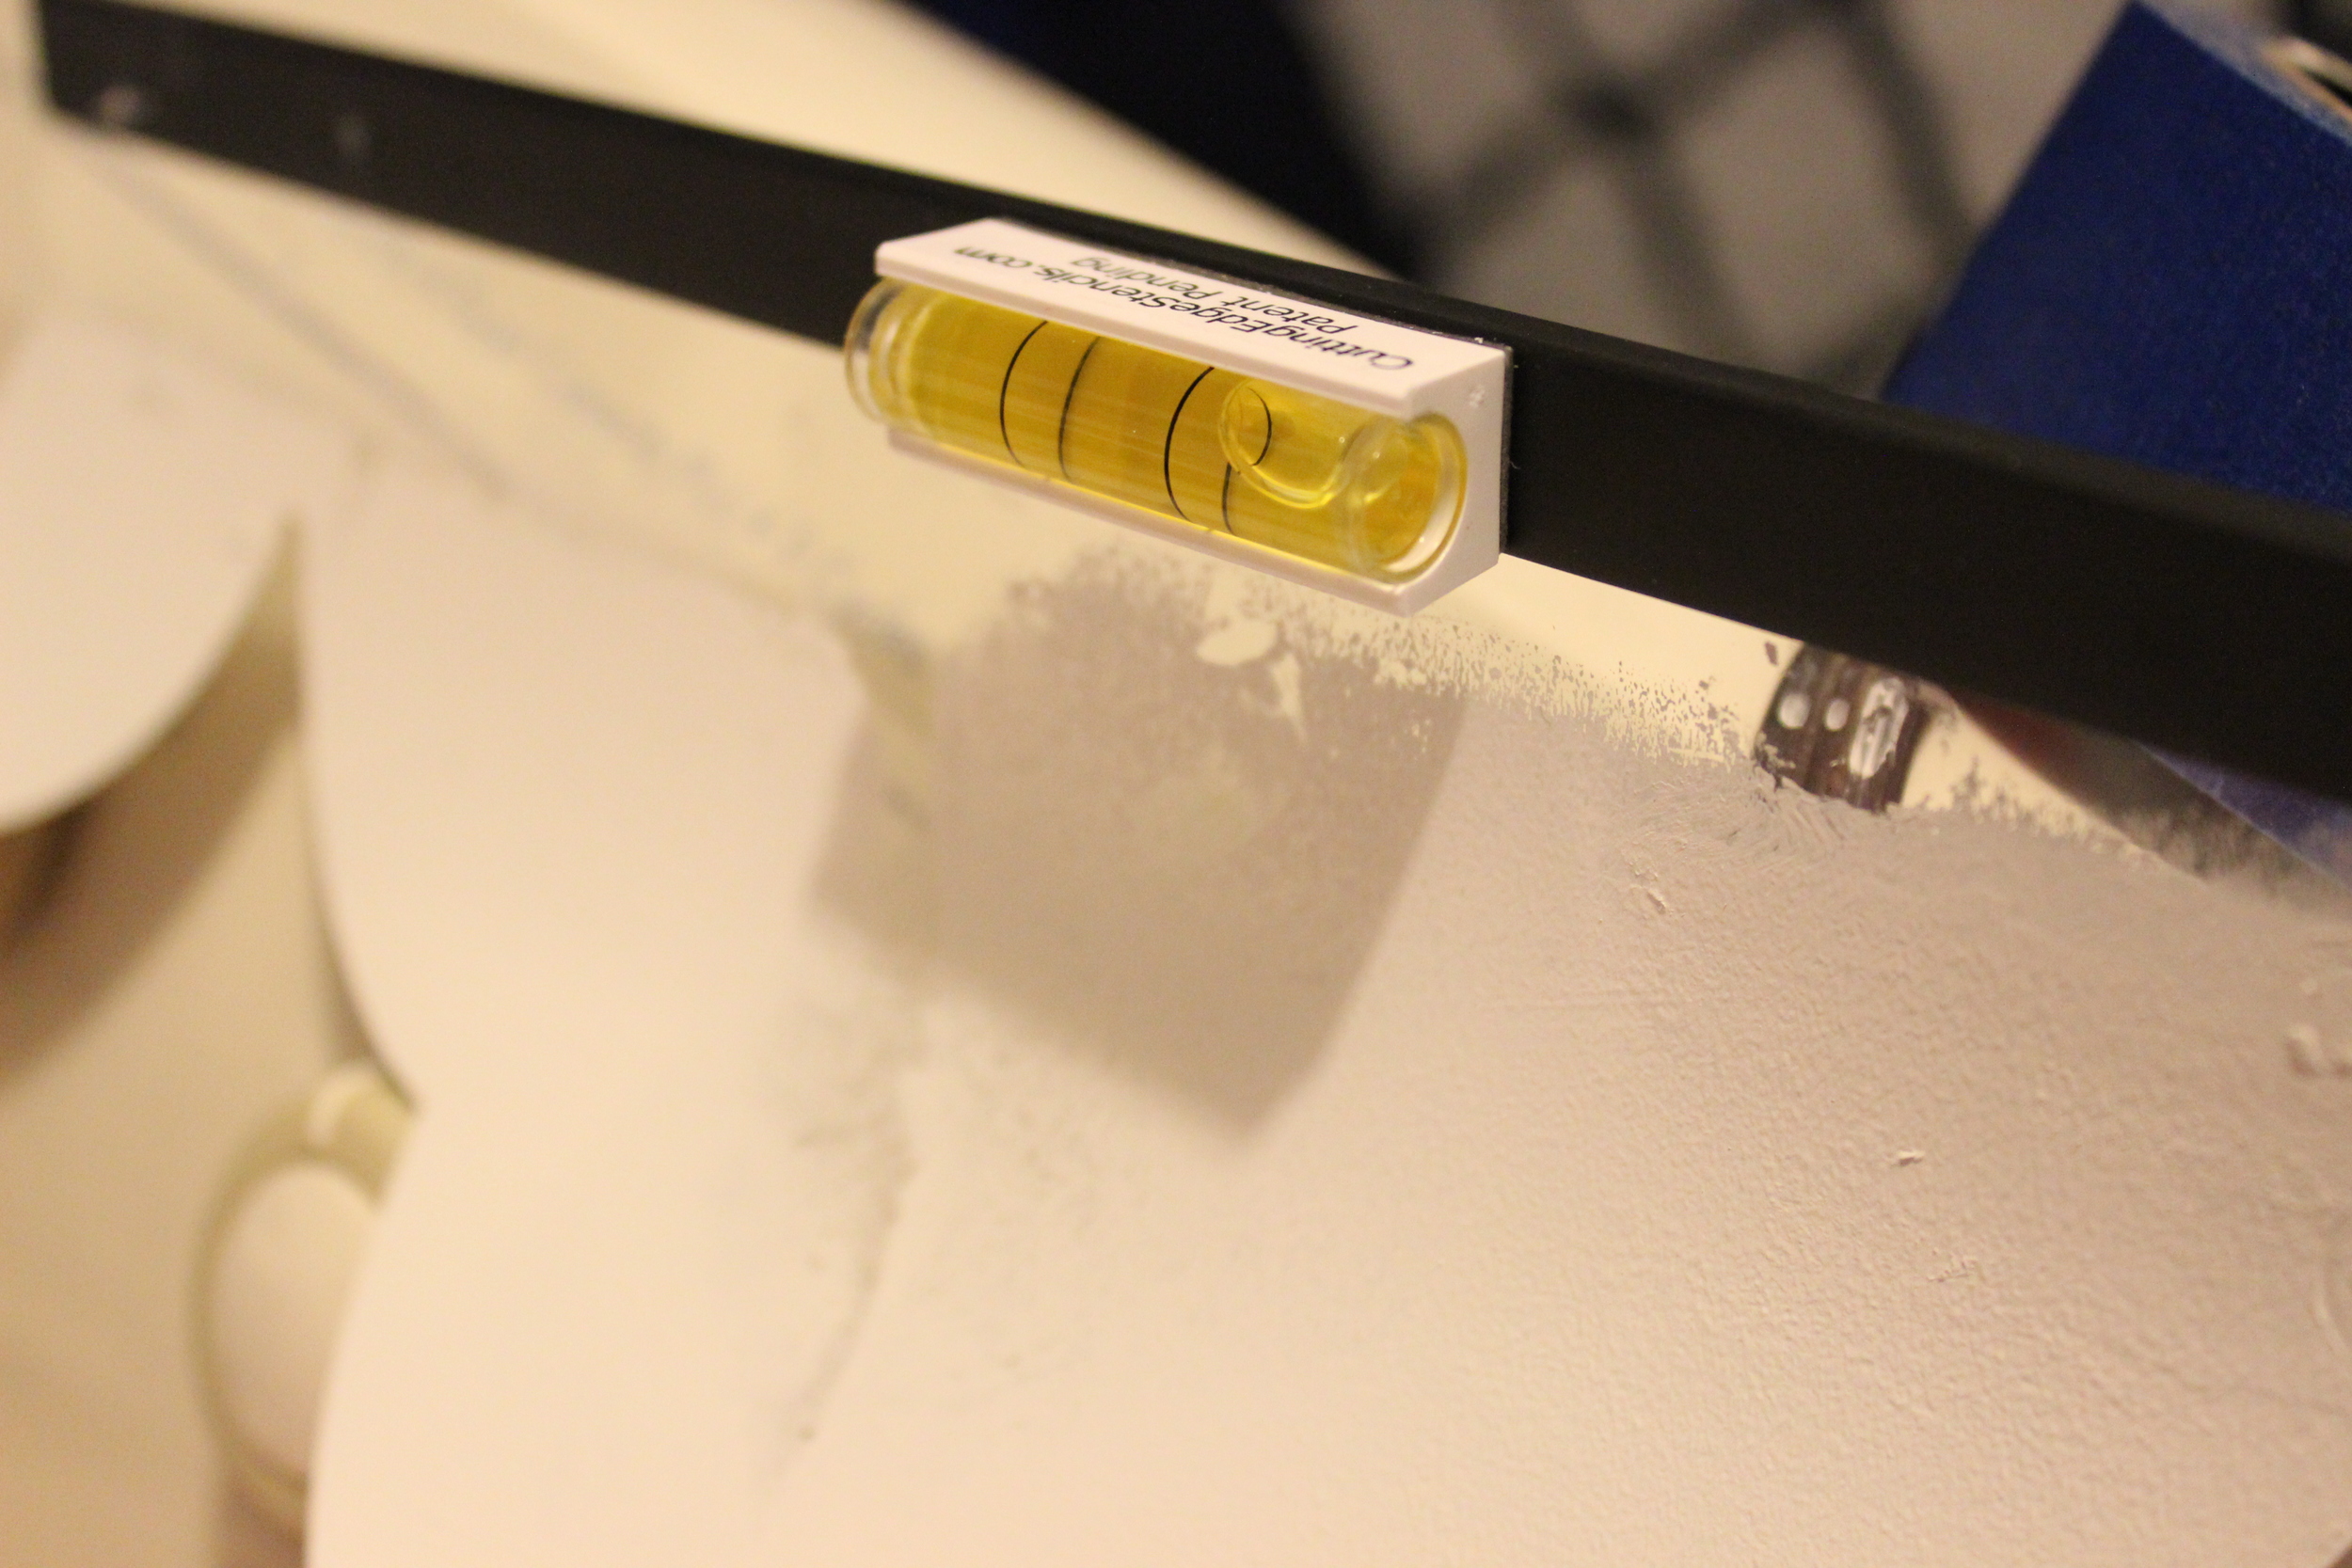
- Just buy this kit with the roller, stencil brush and level when you buy the stencil.
- Pack your patience.
- Start on a random spot on the wall where you can do a whole section of stencil.
- Don't try to wash the stencil. Once you notice that it has too much wet paint on the back of the stencil, just let the paint dry on the stencil and either go straight back to stenciling or peel the paint off (I did the former).
- I love the way it turned out but I will never do this again. In fact, I might do a giveaway of the stencil if any of you want it.
So let's get on with more of the how to do this.
The picture below was taken after I got through doing nearly all of it but the top section. LB had to help with the sides. Just as the rest of this project has gone, we tapped off the ceiling and the side walls the night before and when I came down to finish it up... the tape had de-taped from the ceiling.
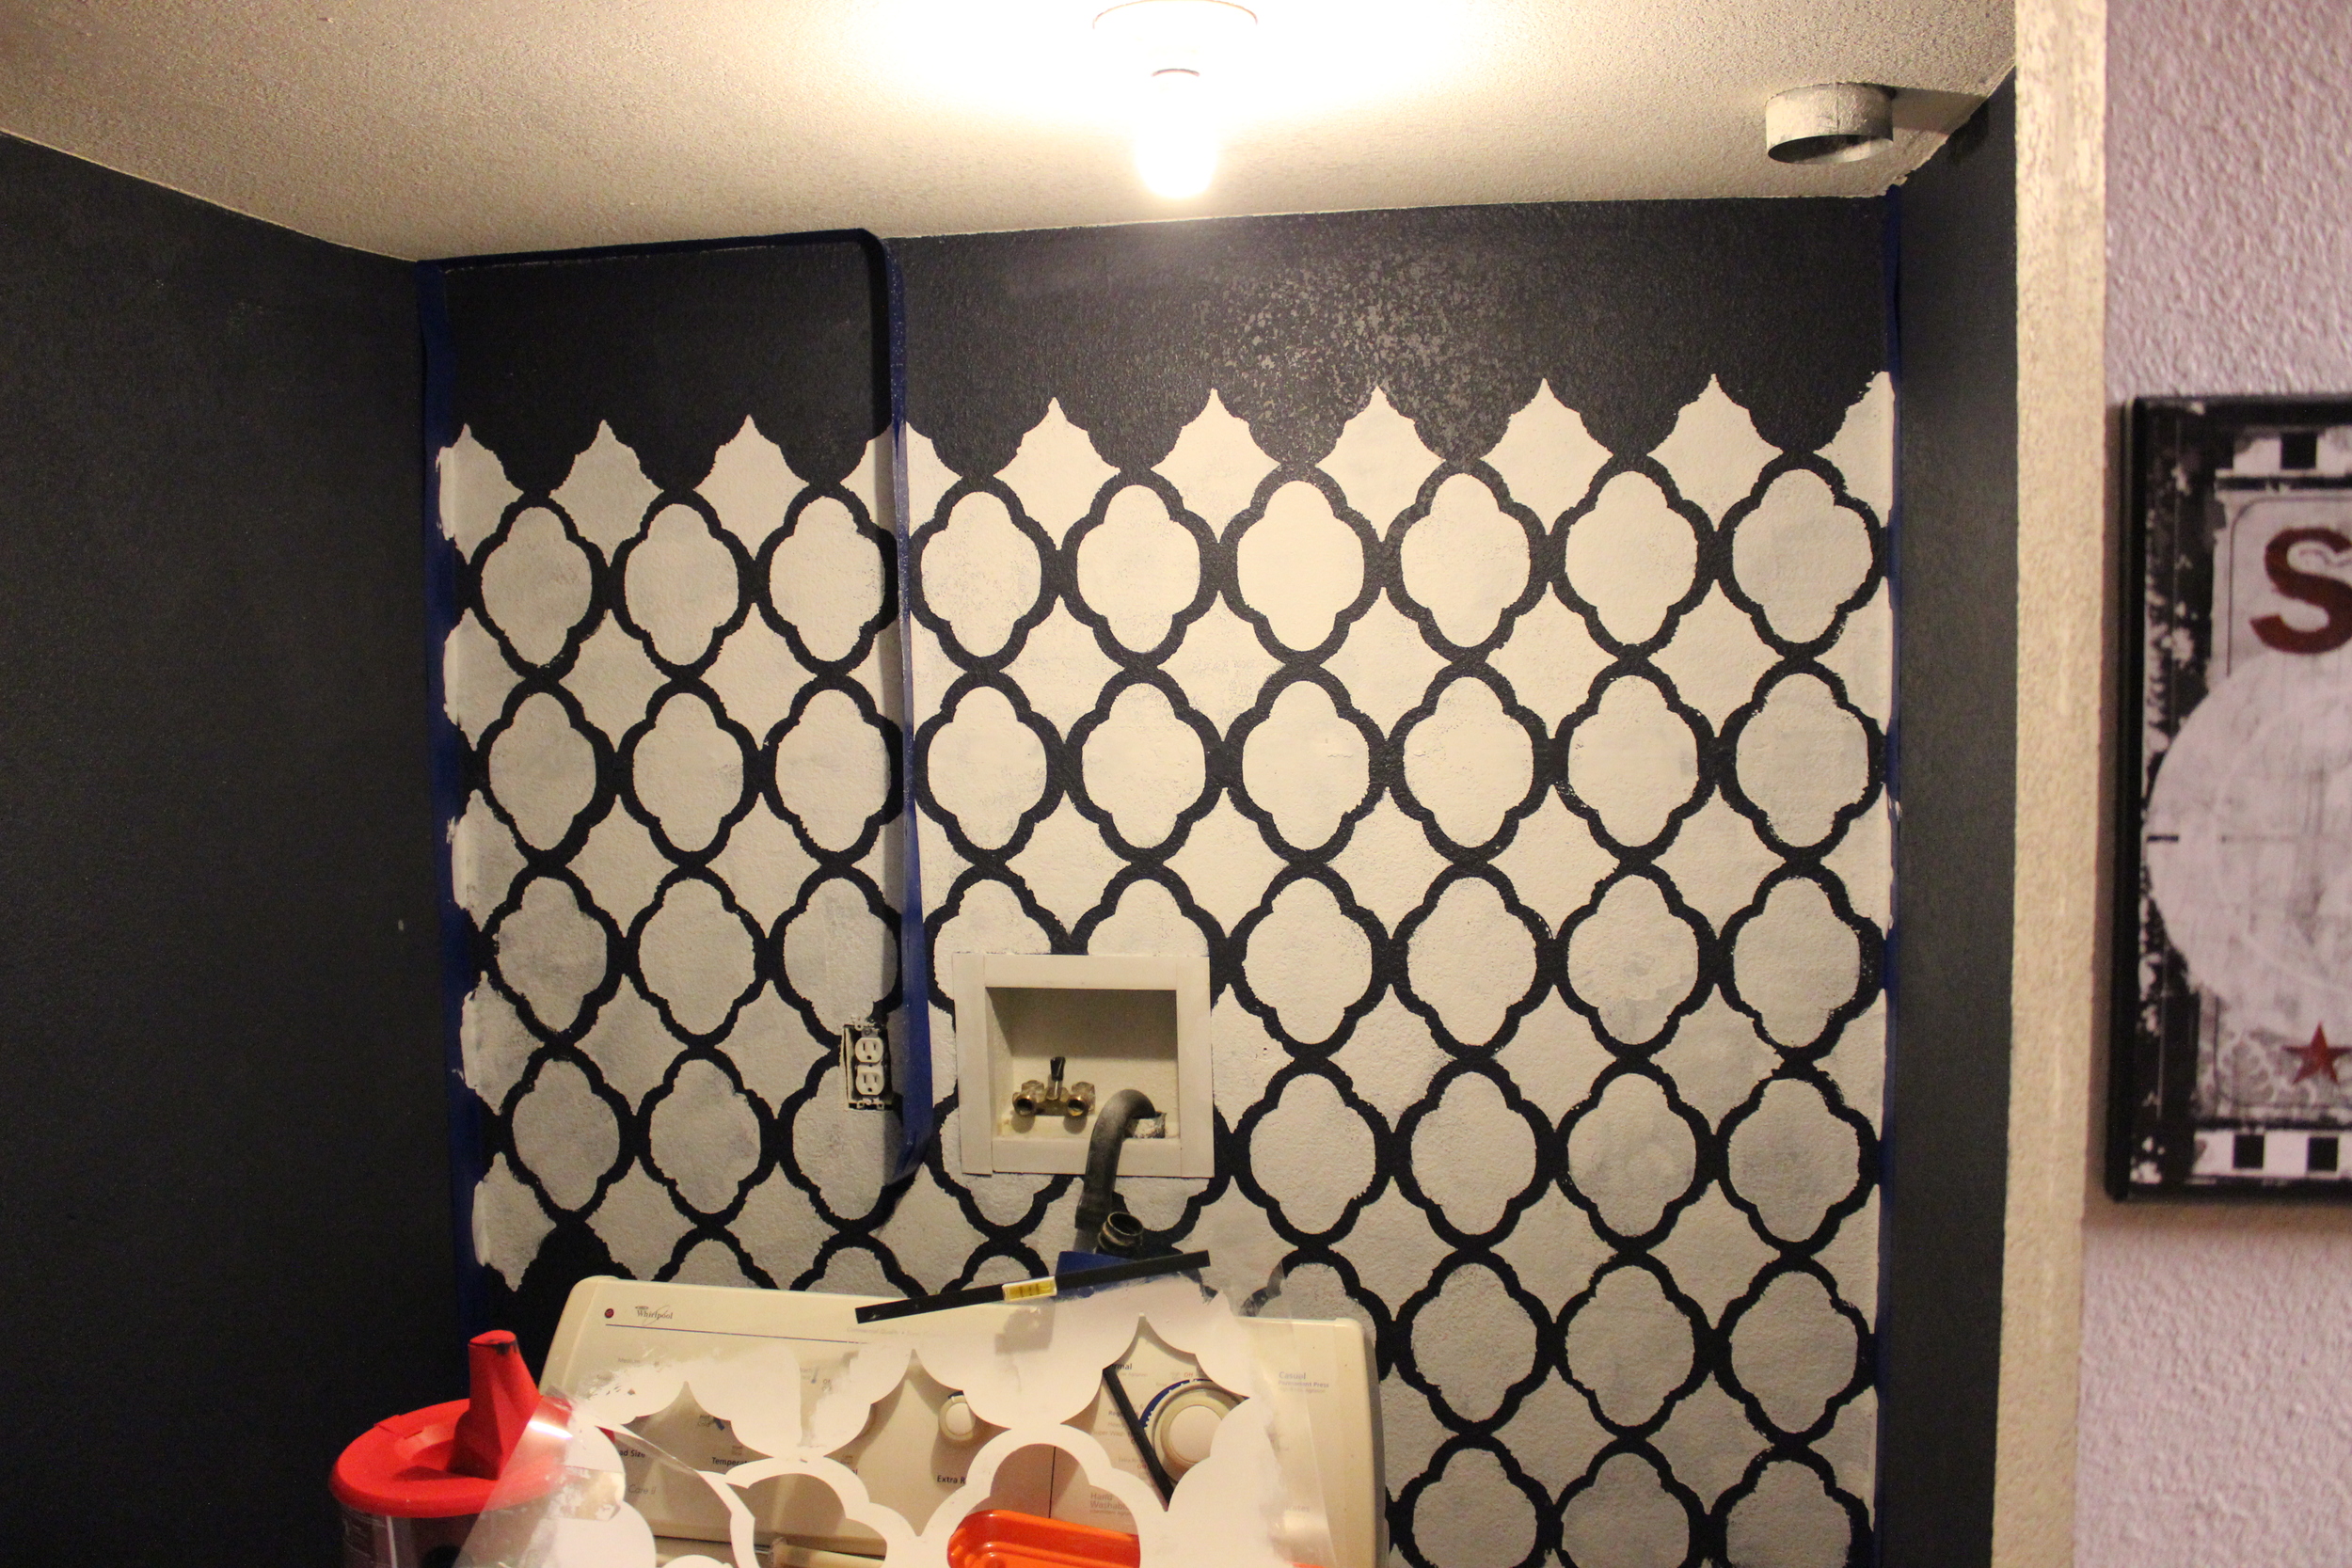
Zoomed out it looks almost respectable, but when you look/zoom closer...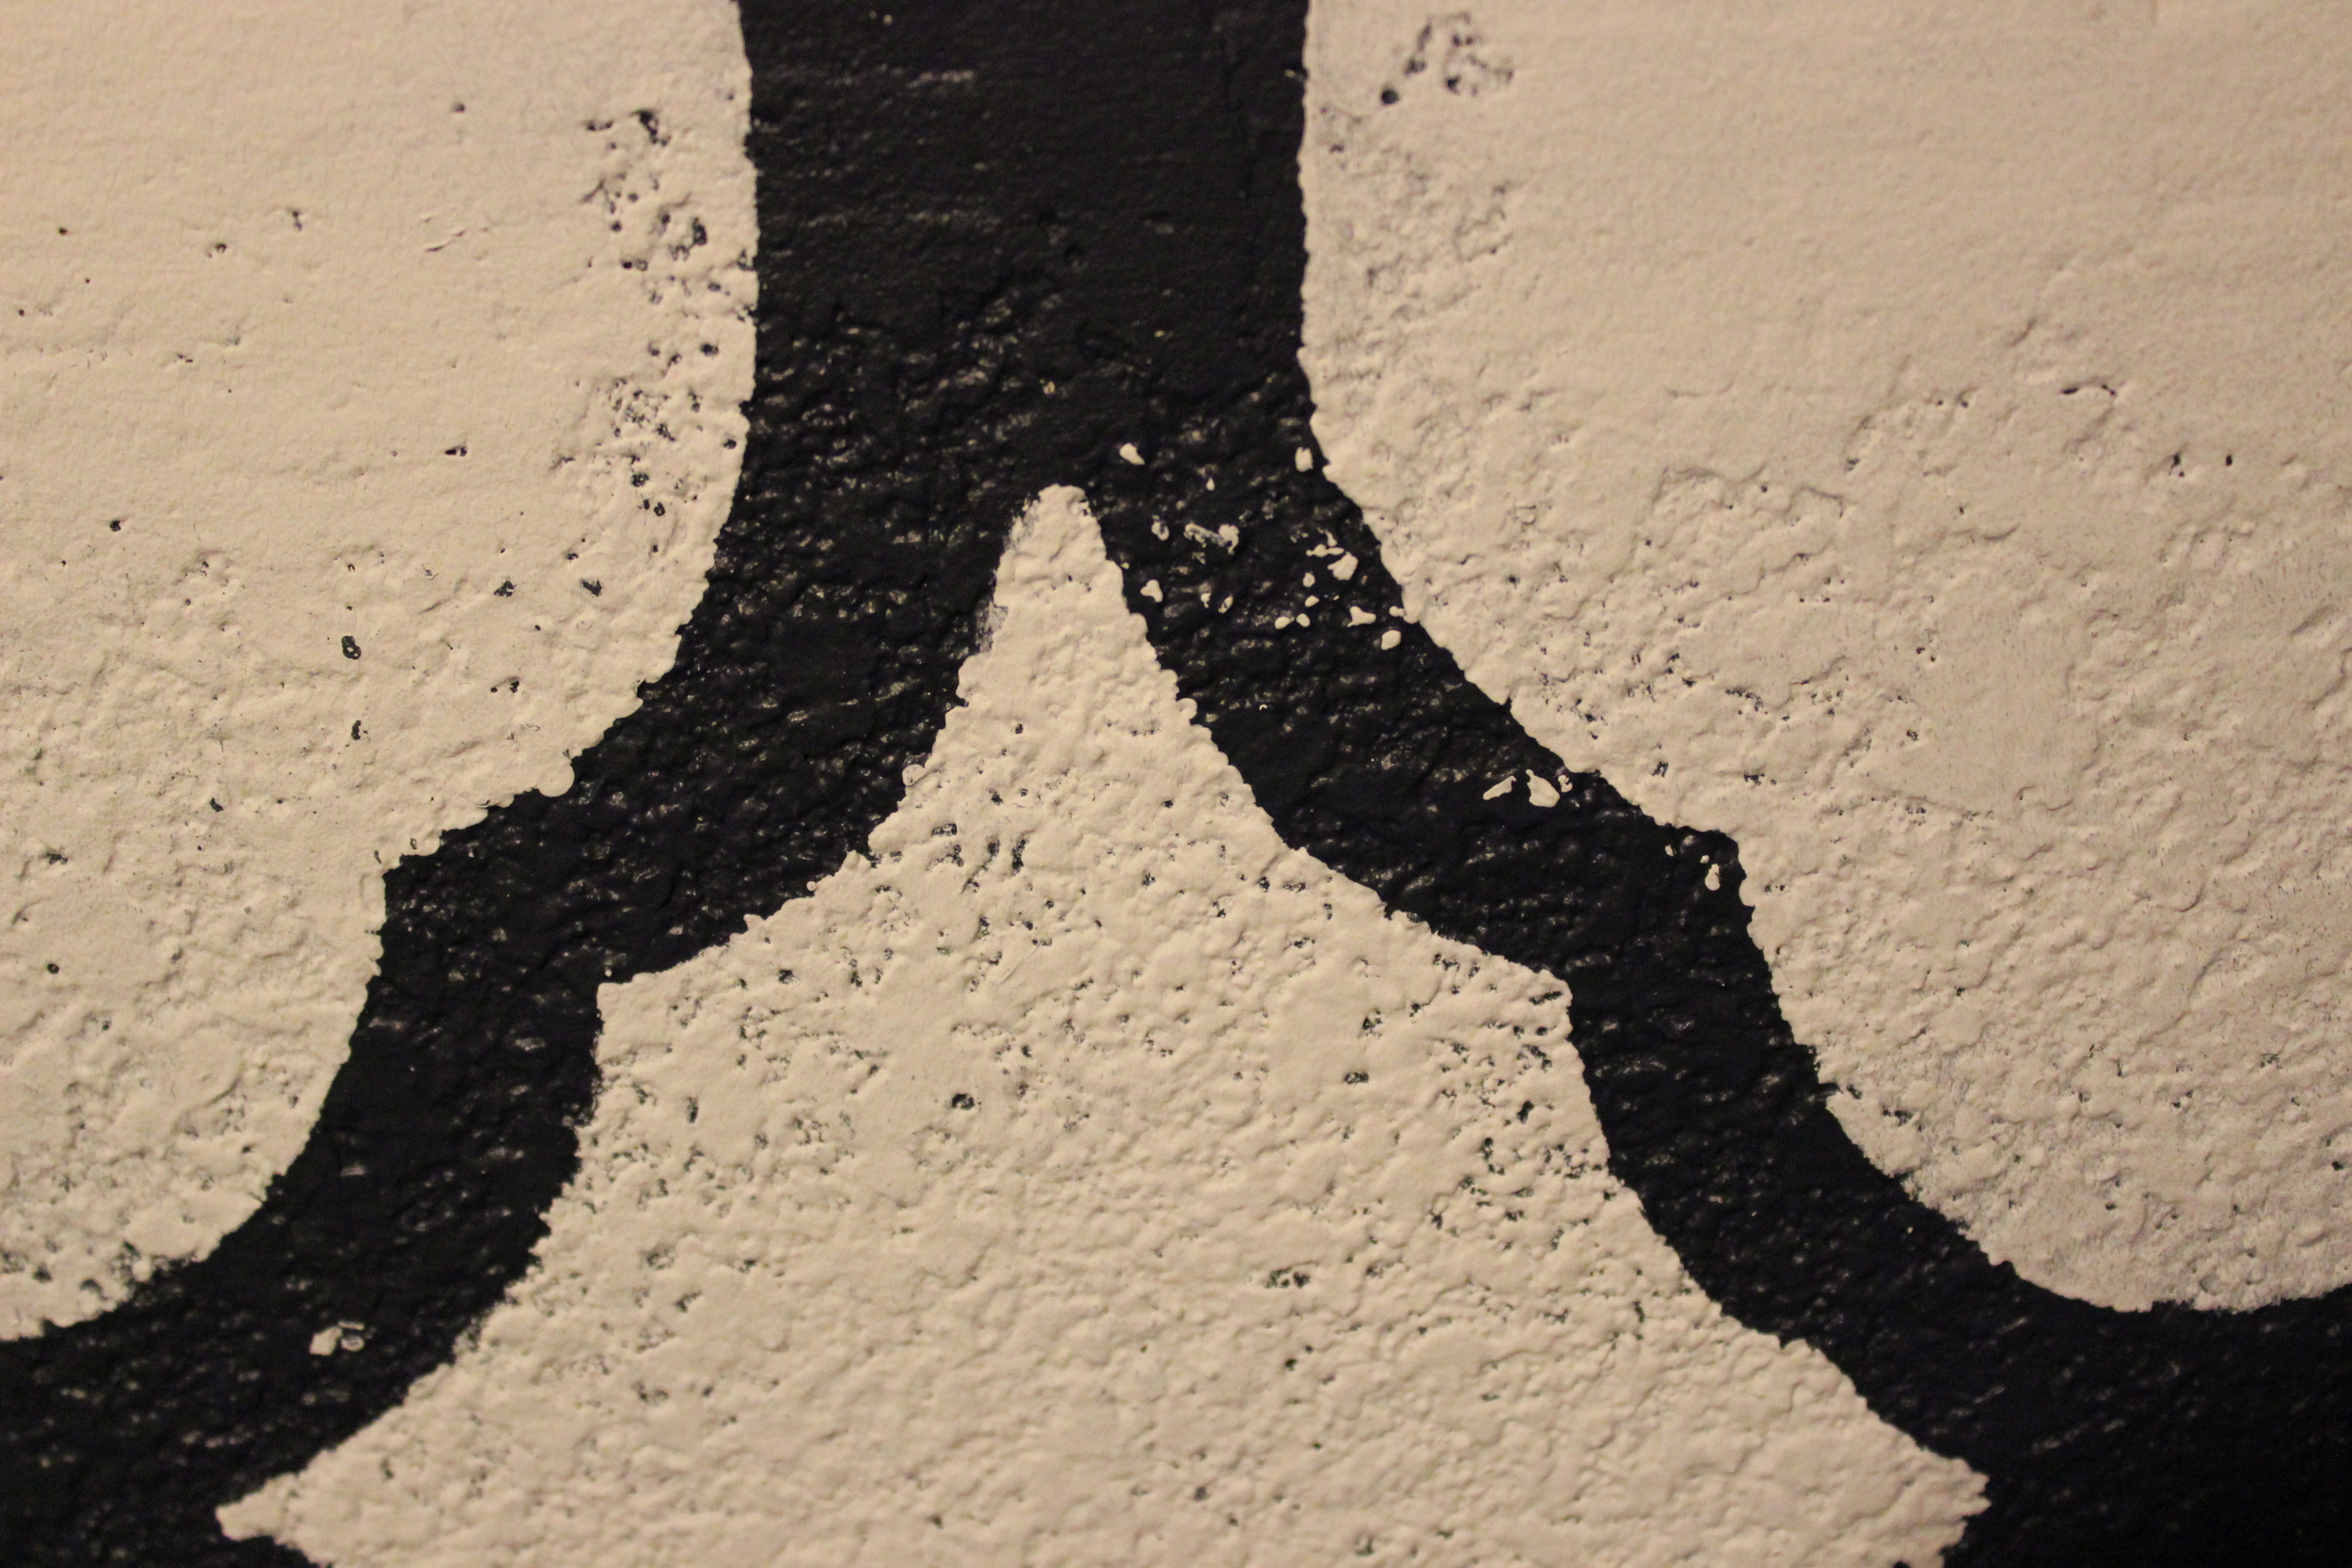
Spatters of mockery are EVERYWHERE. 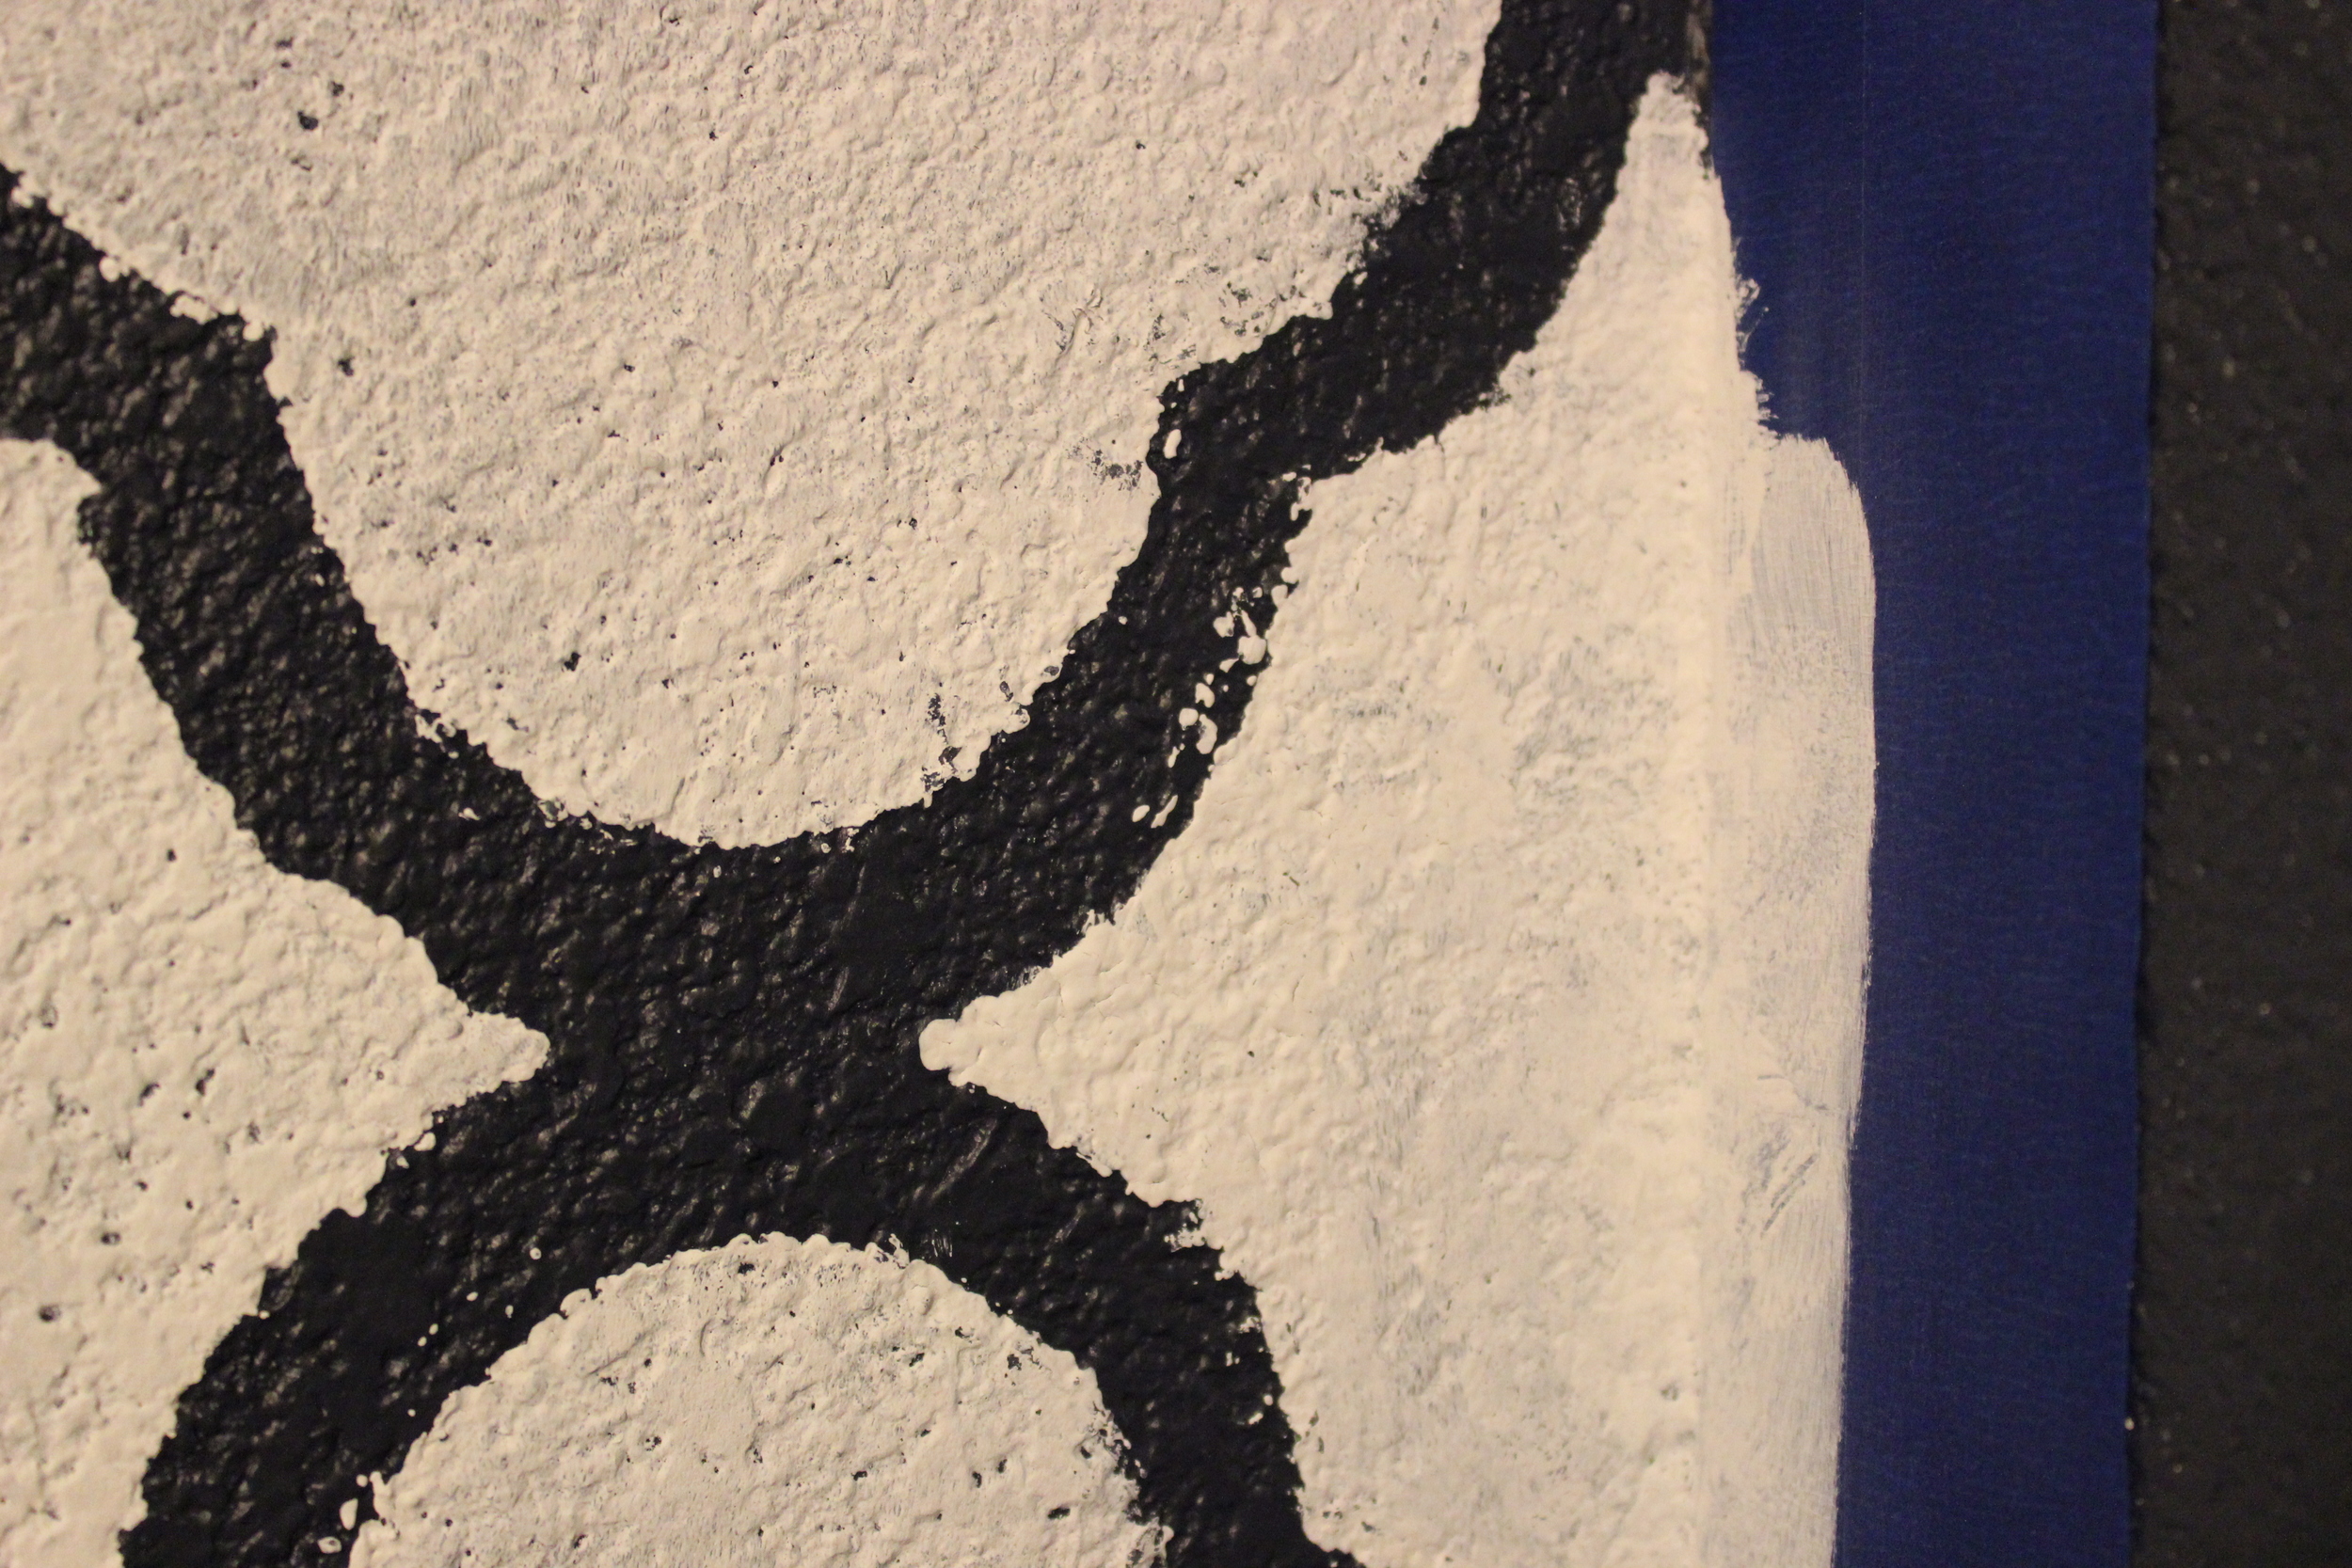
I just kept telling myself to keep ignoring them until I was all the way done because there would be a TON that I would have to touch up.
I promised some more directions and here they are. First, attach the level to the stencil and then tape it up with obnoxious painting tape that you will hate by the end of this project.
Once you have done your one whole section on any area of the wall that you choose, the stencil will just need to be lined up with the previous stencils, leveled and taped. Here I am trying to do the corners by myself (hahahahahaha. Nearly impossible). As I mentioned above, you need to tape off the ceiling and the side walls. You then grab a paint tray, dip the roller in, and then clear off as much paint as possible before you touch it to the wall. Use the I-basically-have-no-paint-left-on-me small roller to roll out as much of the stencil as you can. Then for the edges, you will need to use the stencil brush and press the stencil securely to the wall/into the corner and apply the paint using the stencil brush. 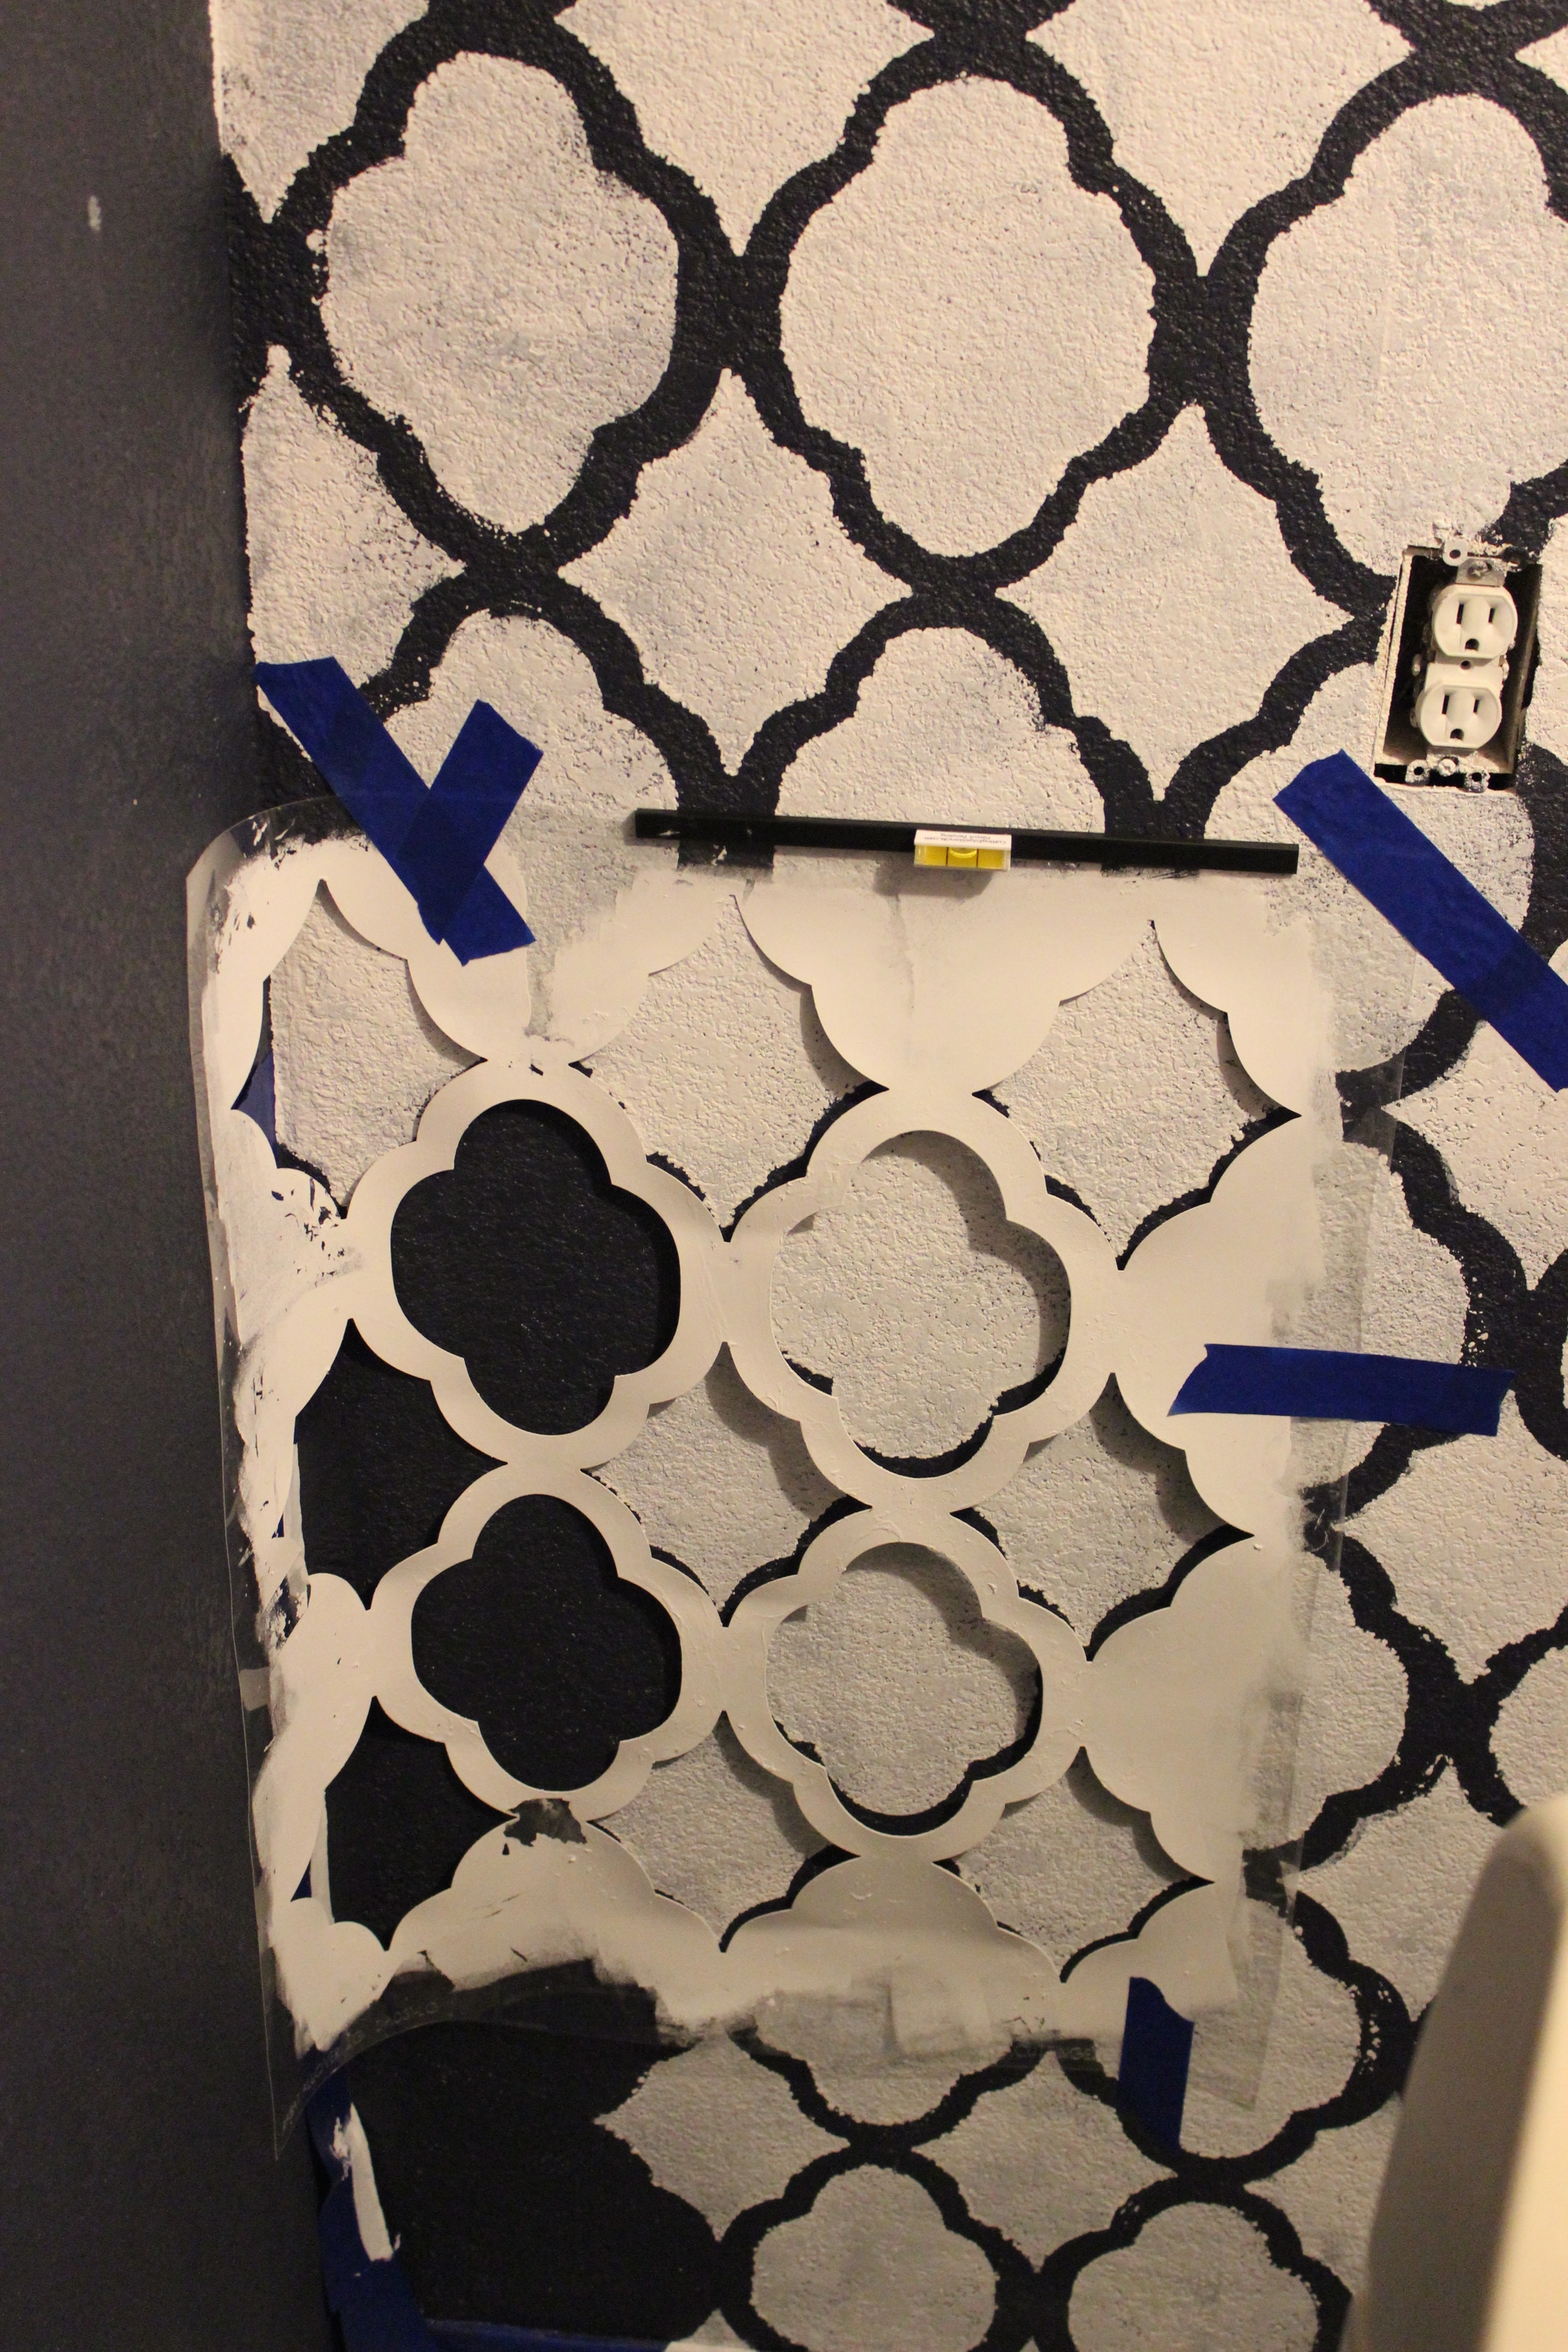
Here is an example of how the stencil interlocks with itself. 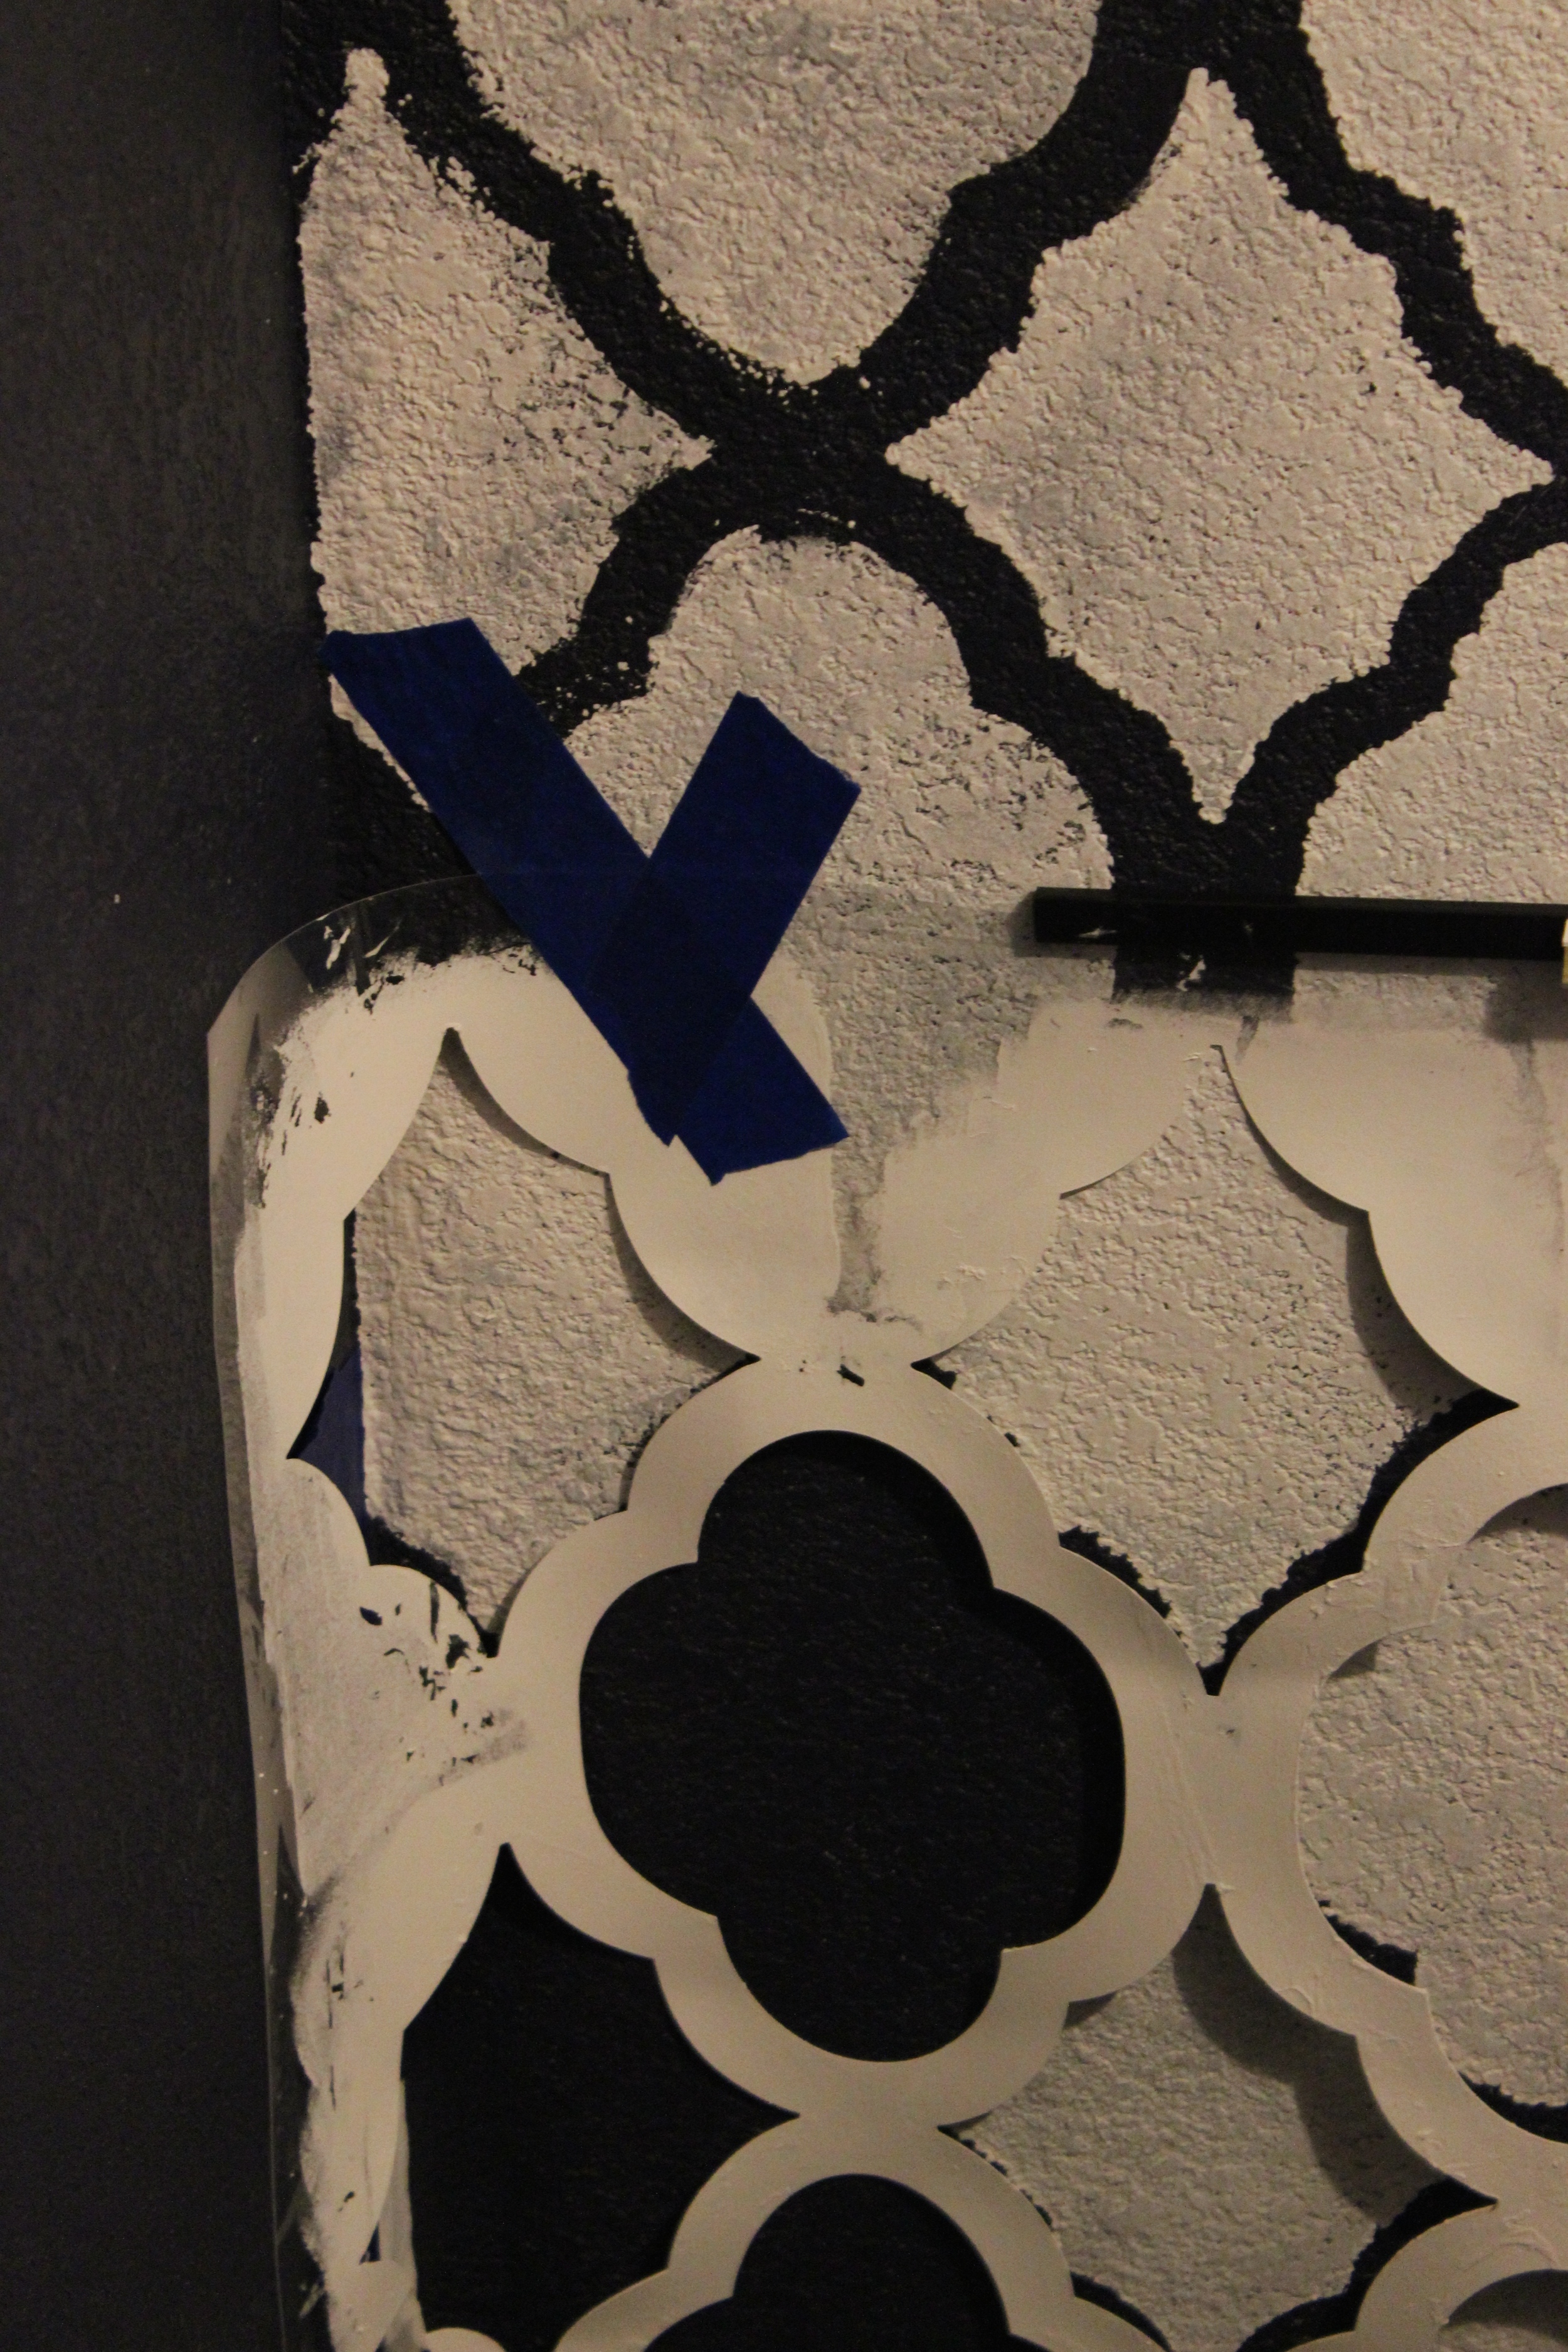
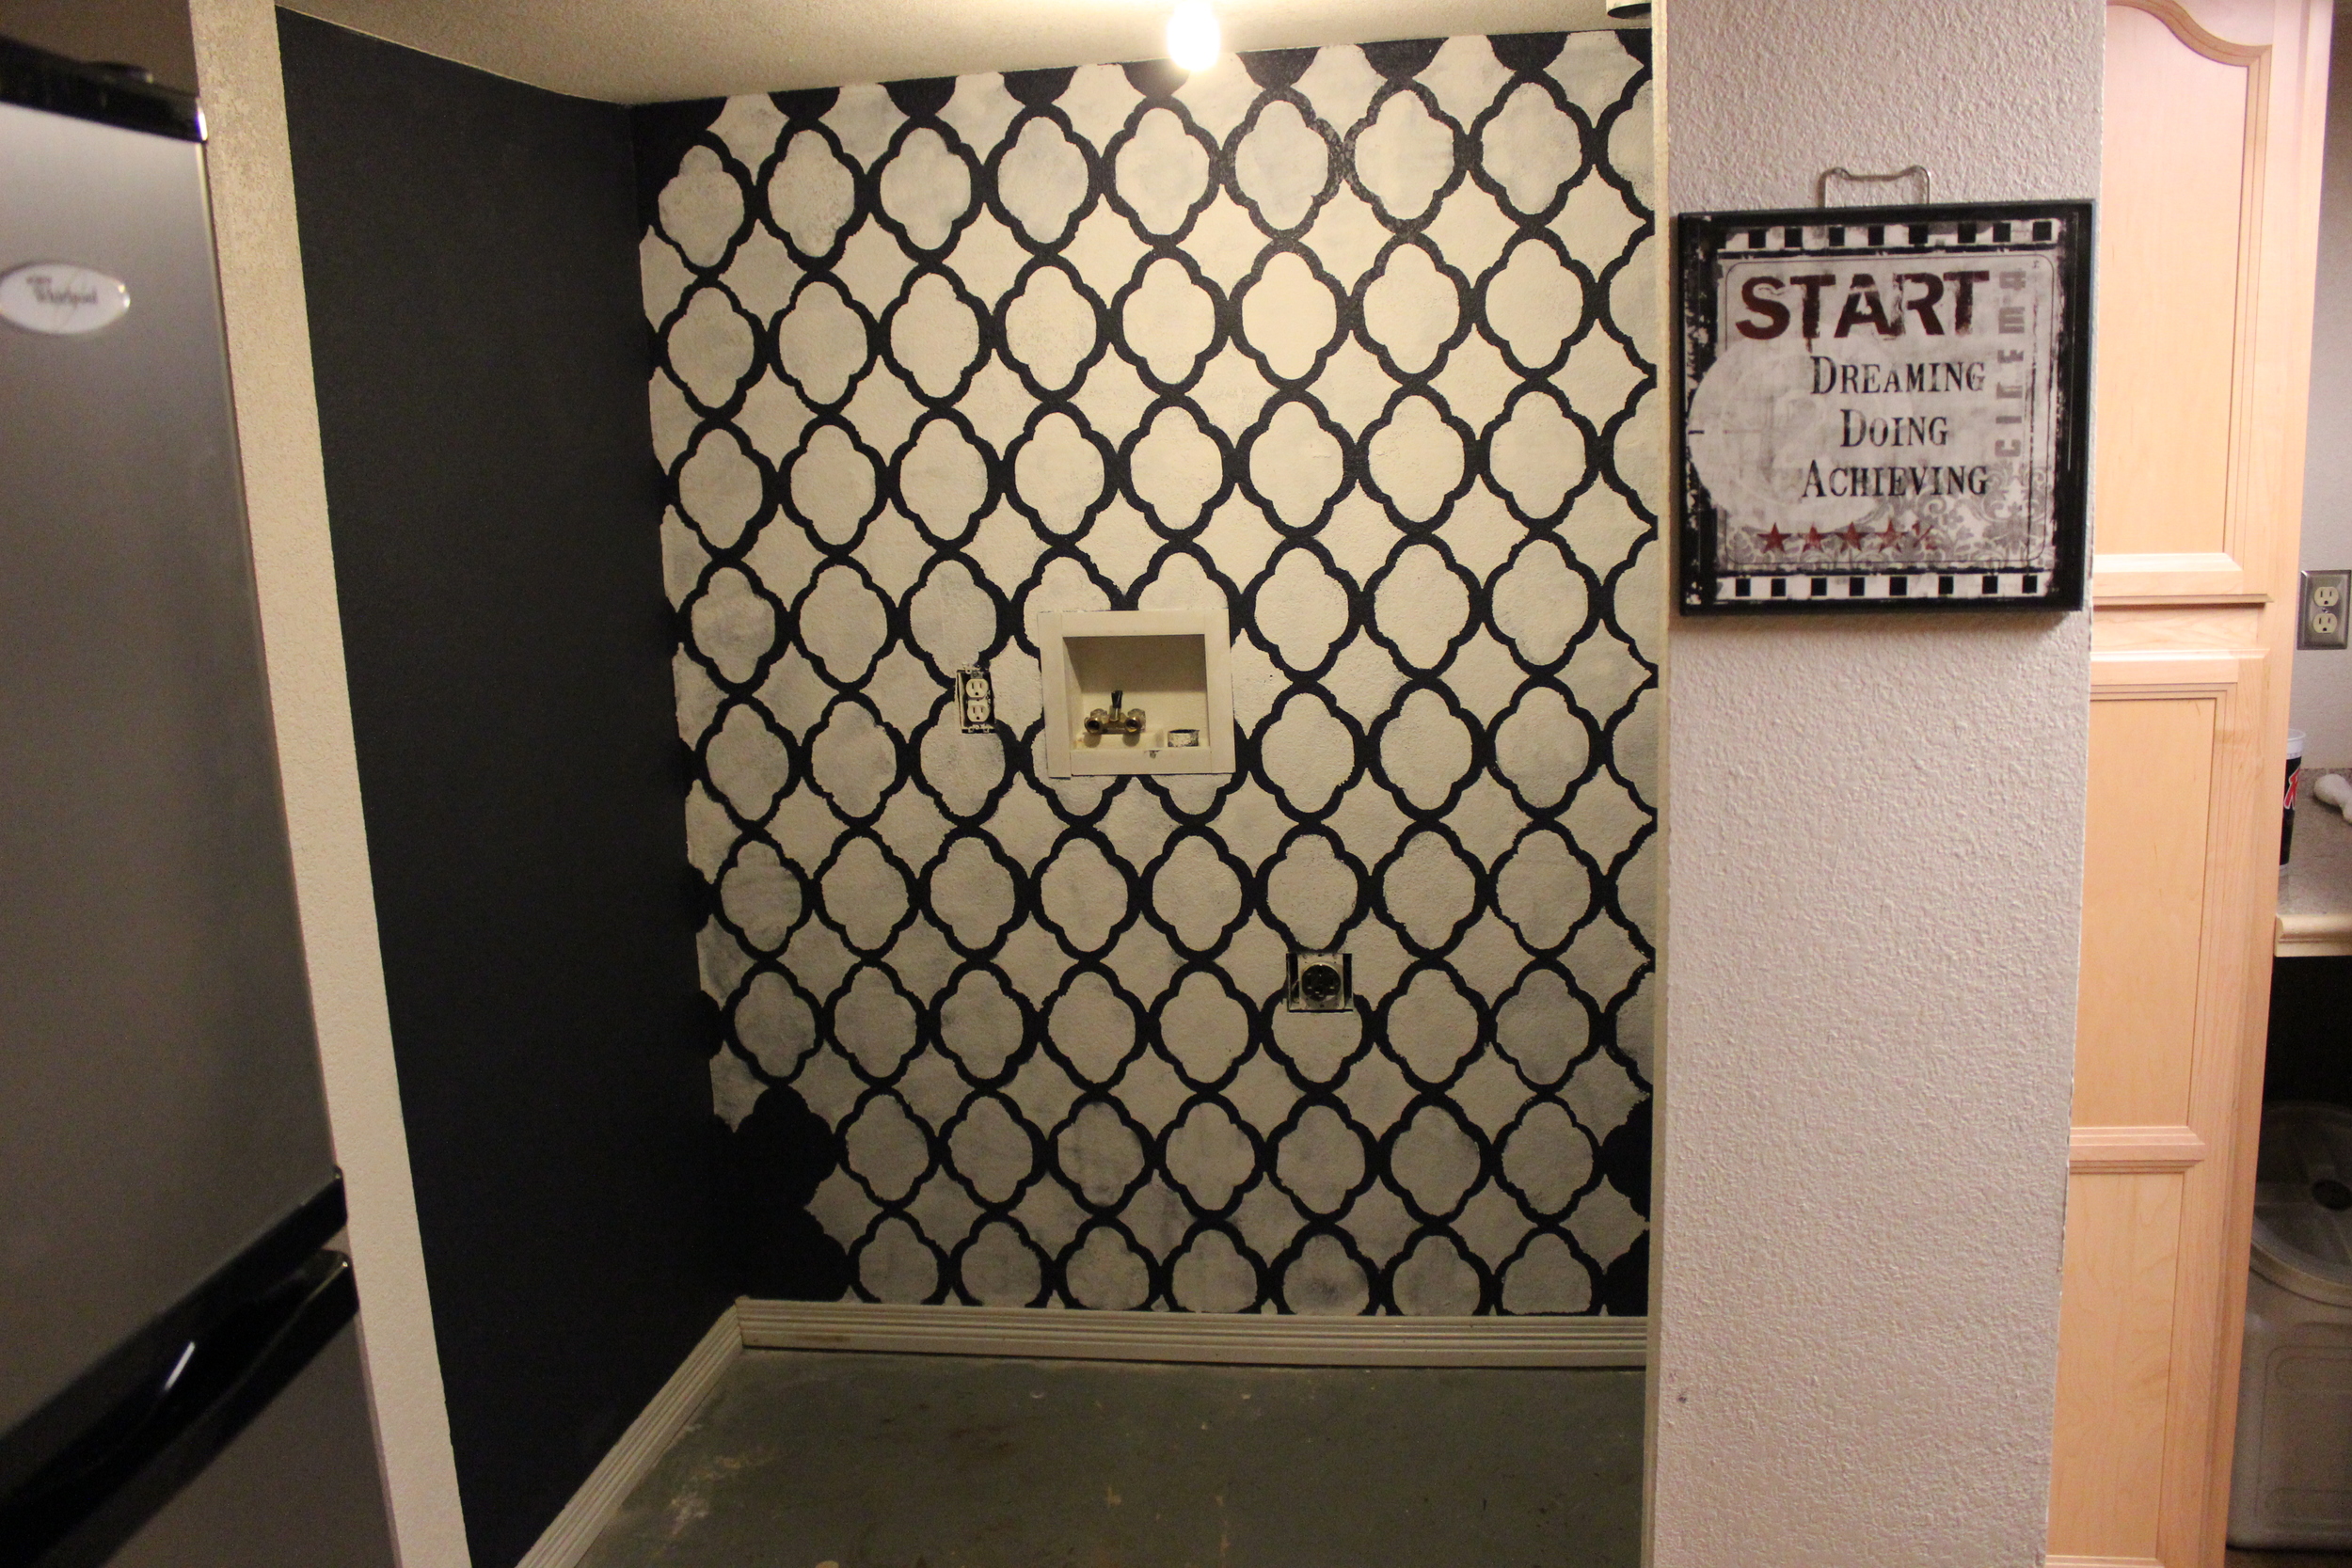
After a LOT of using 8 hands we didn't have, we got to this point: we were done using the stencil! Praise the LORD. It looks almost great here... again... illusion until you zoom in...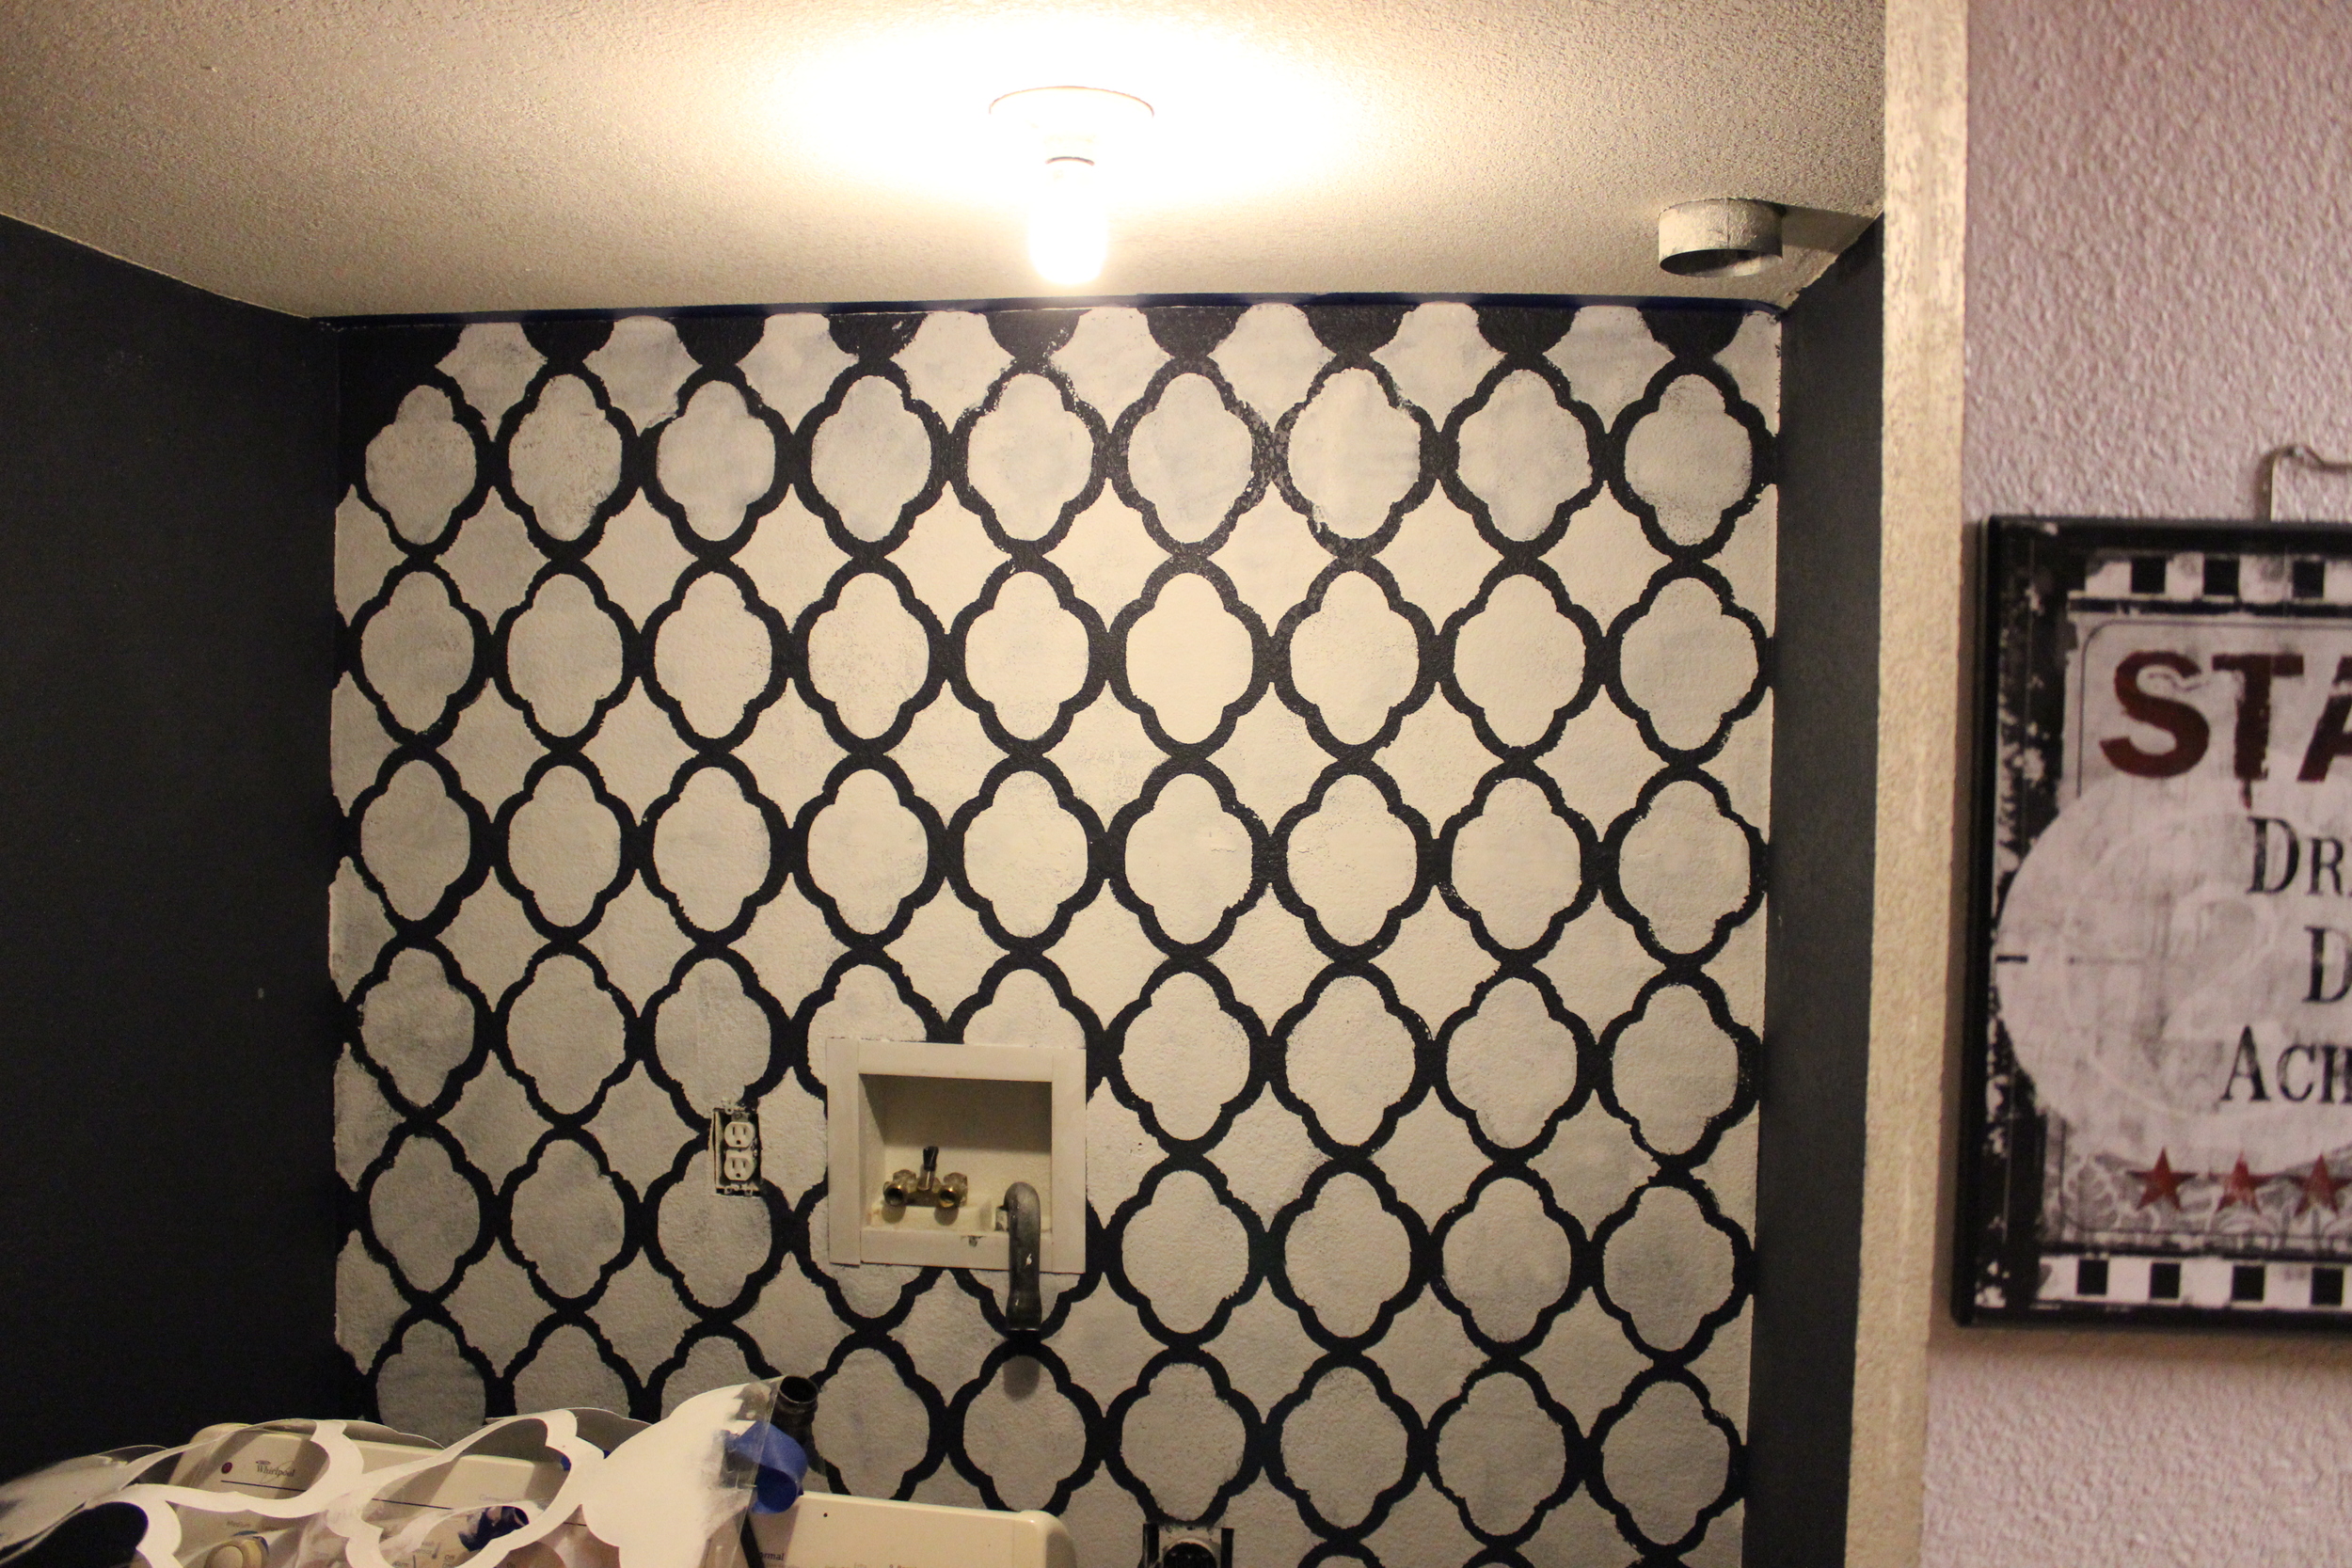
So janky. The ceiling was WAY harder than the corners. But luckily for me, I have quite a few people with serious paint brush skills in my crew. Sam was hired and she came and fixed it all right up by using a fine tipped paint brush and the Hale Navy paint to cover up the CRAY CRAY white spots. 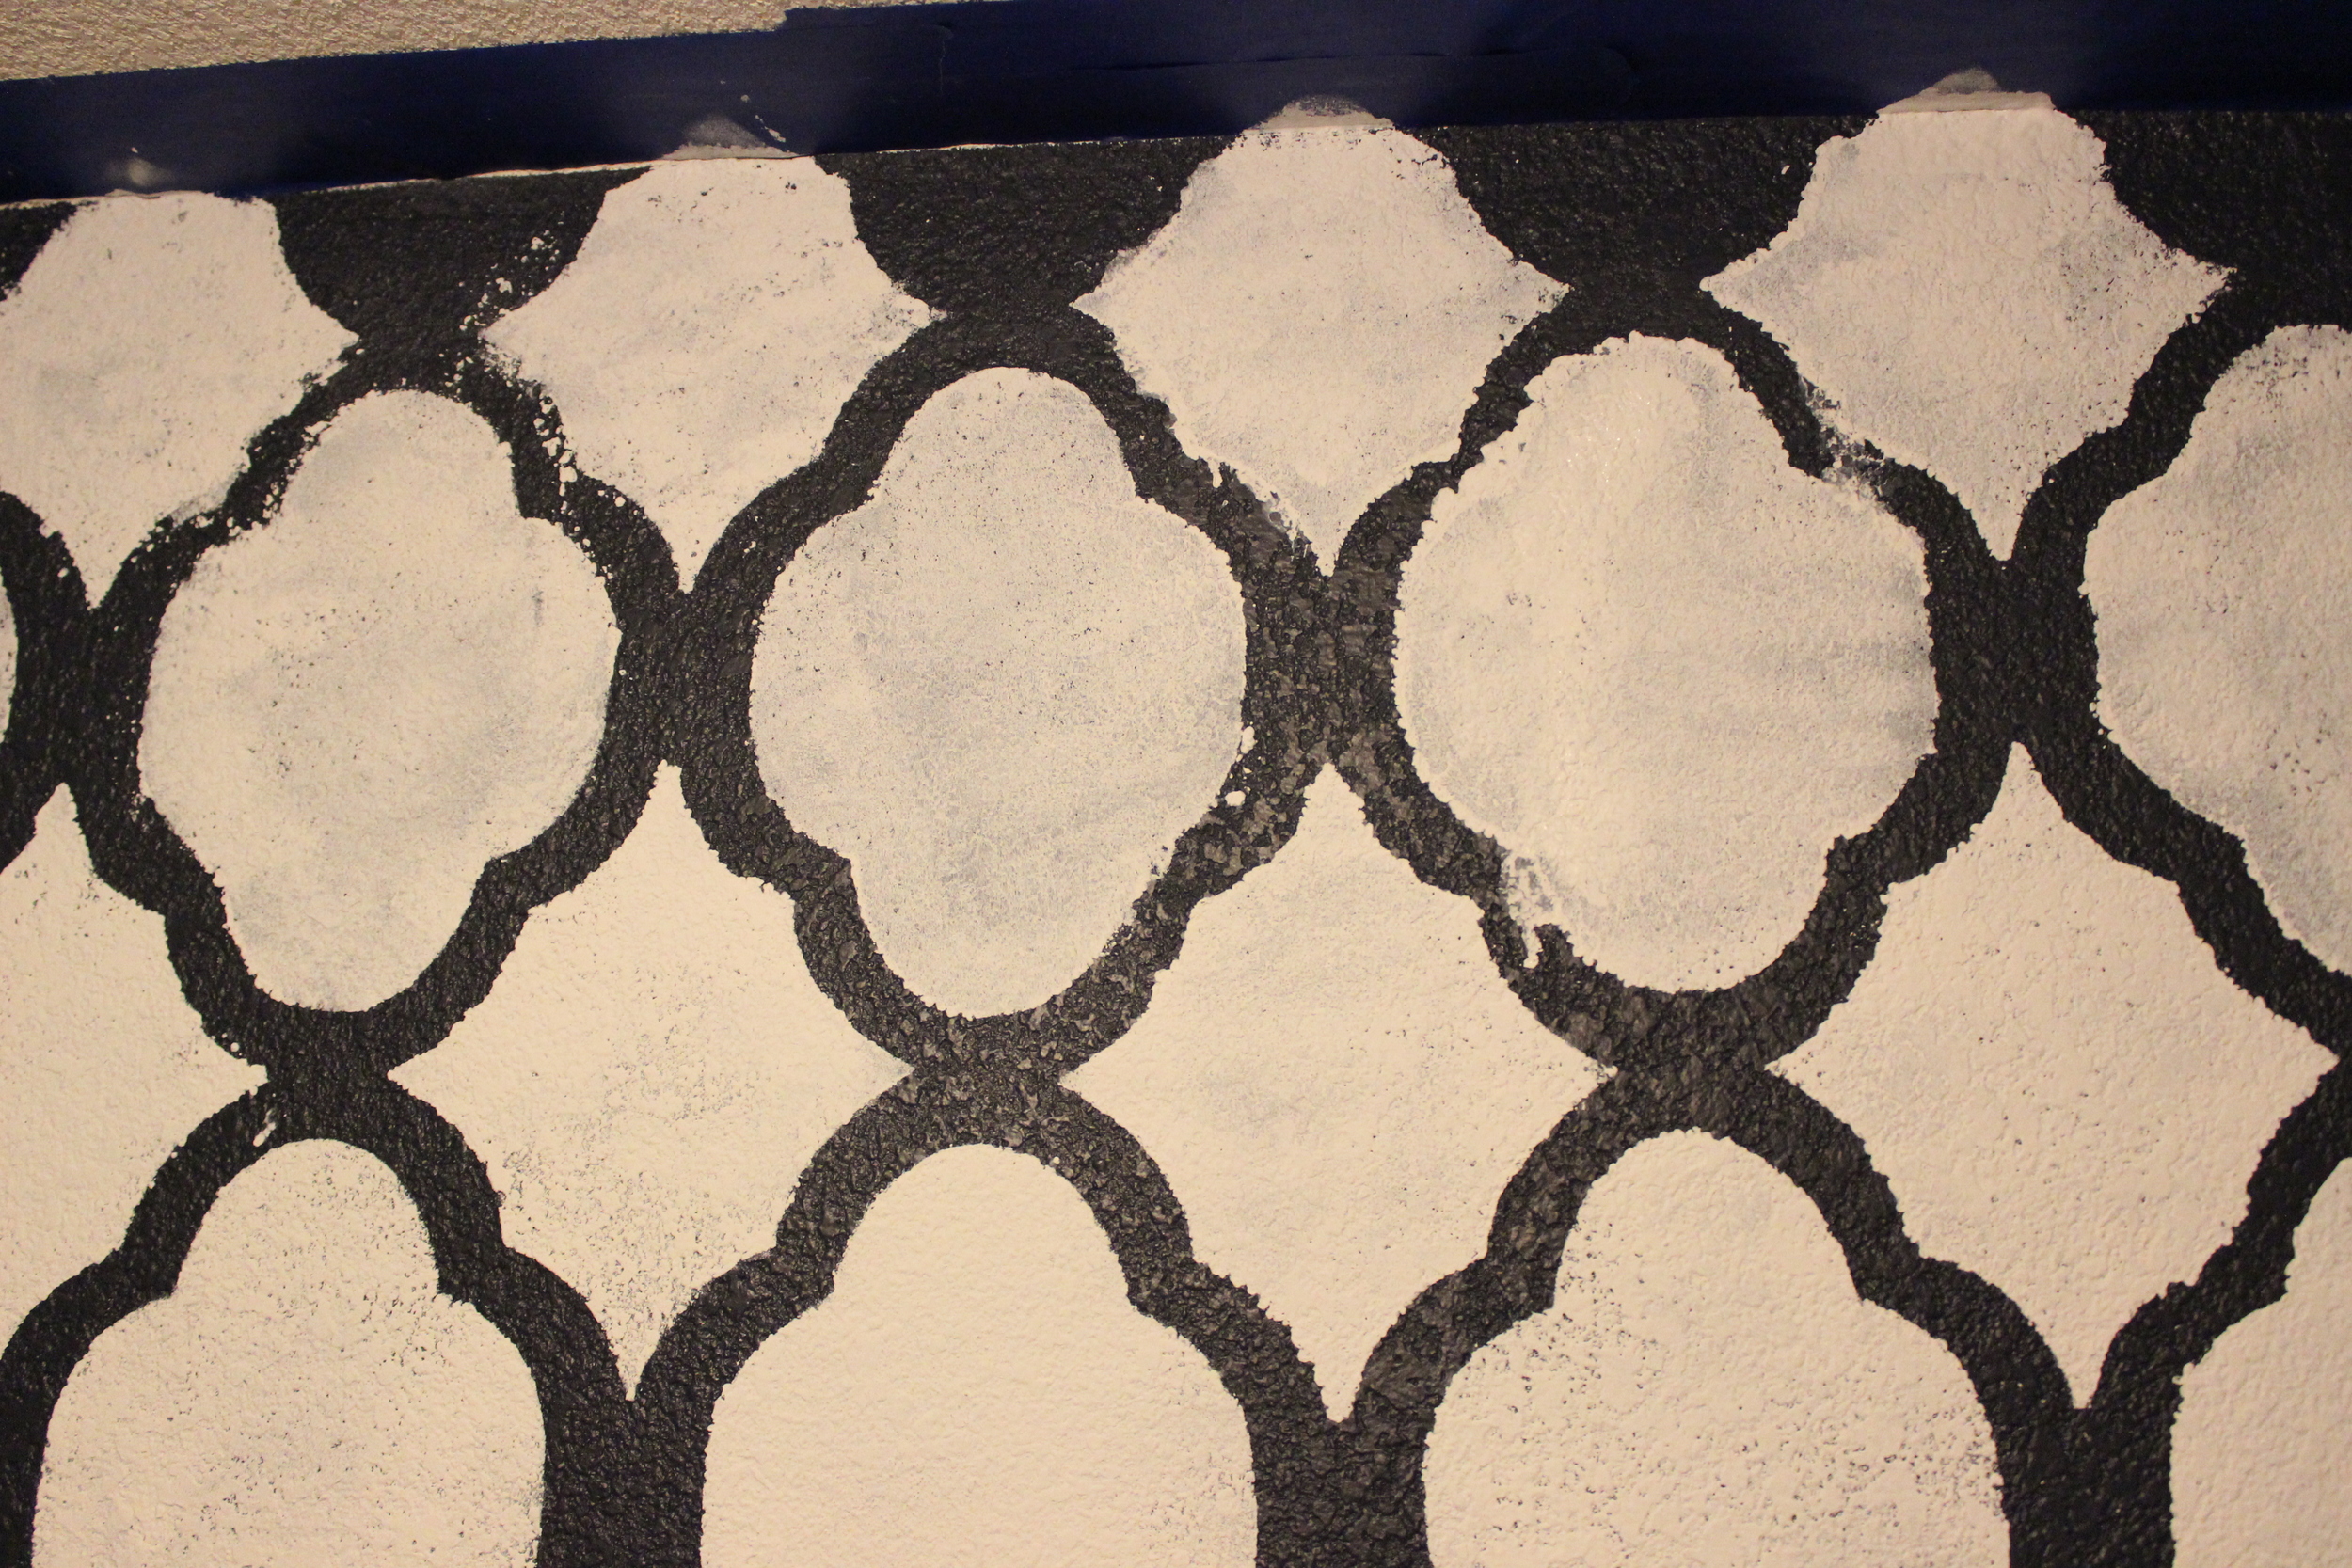
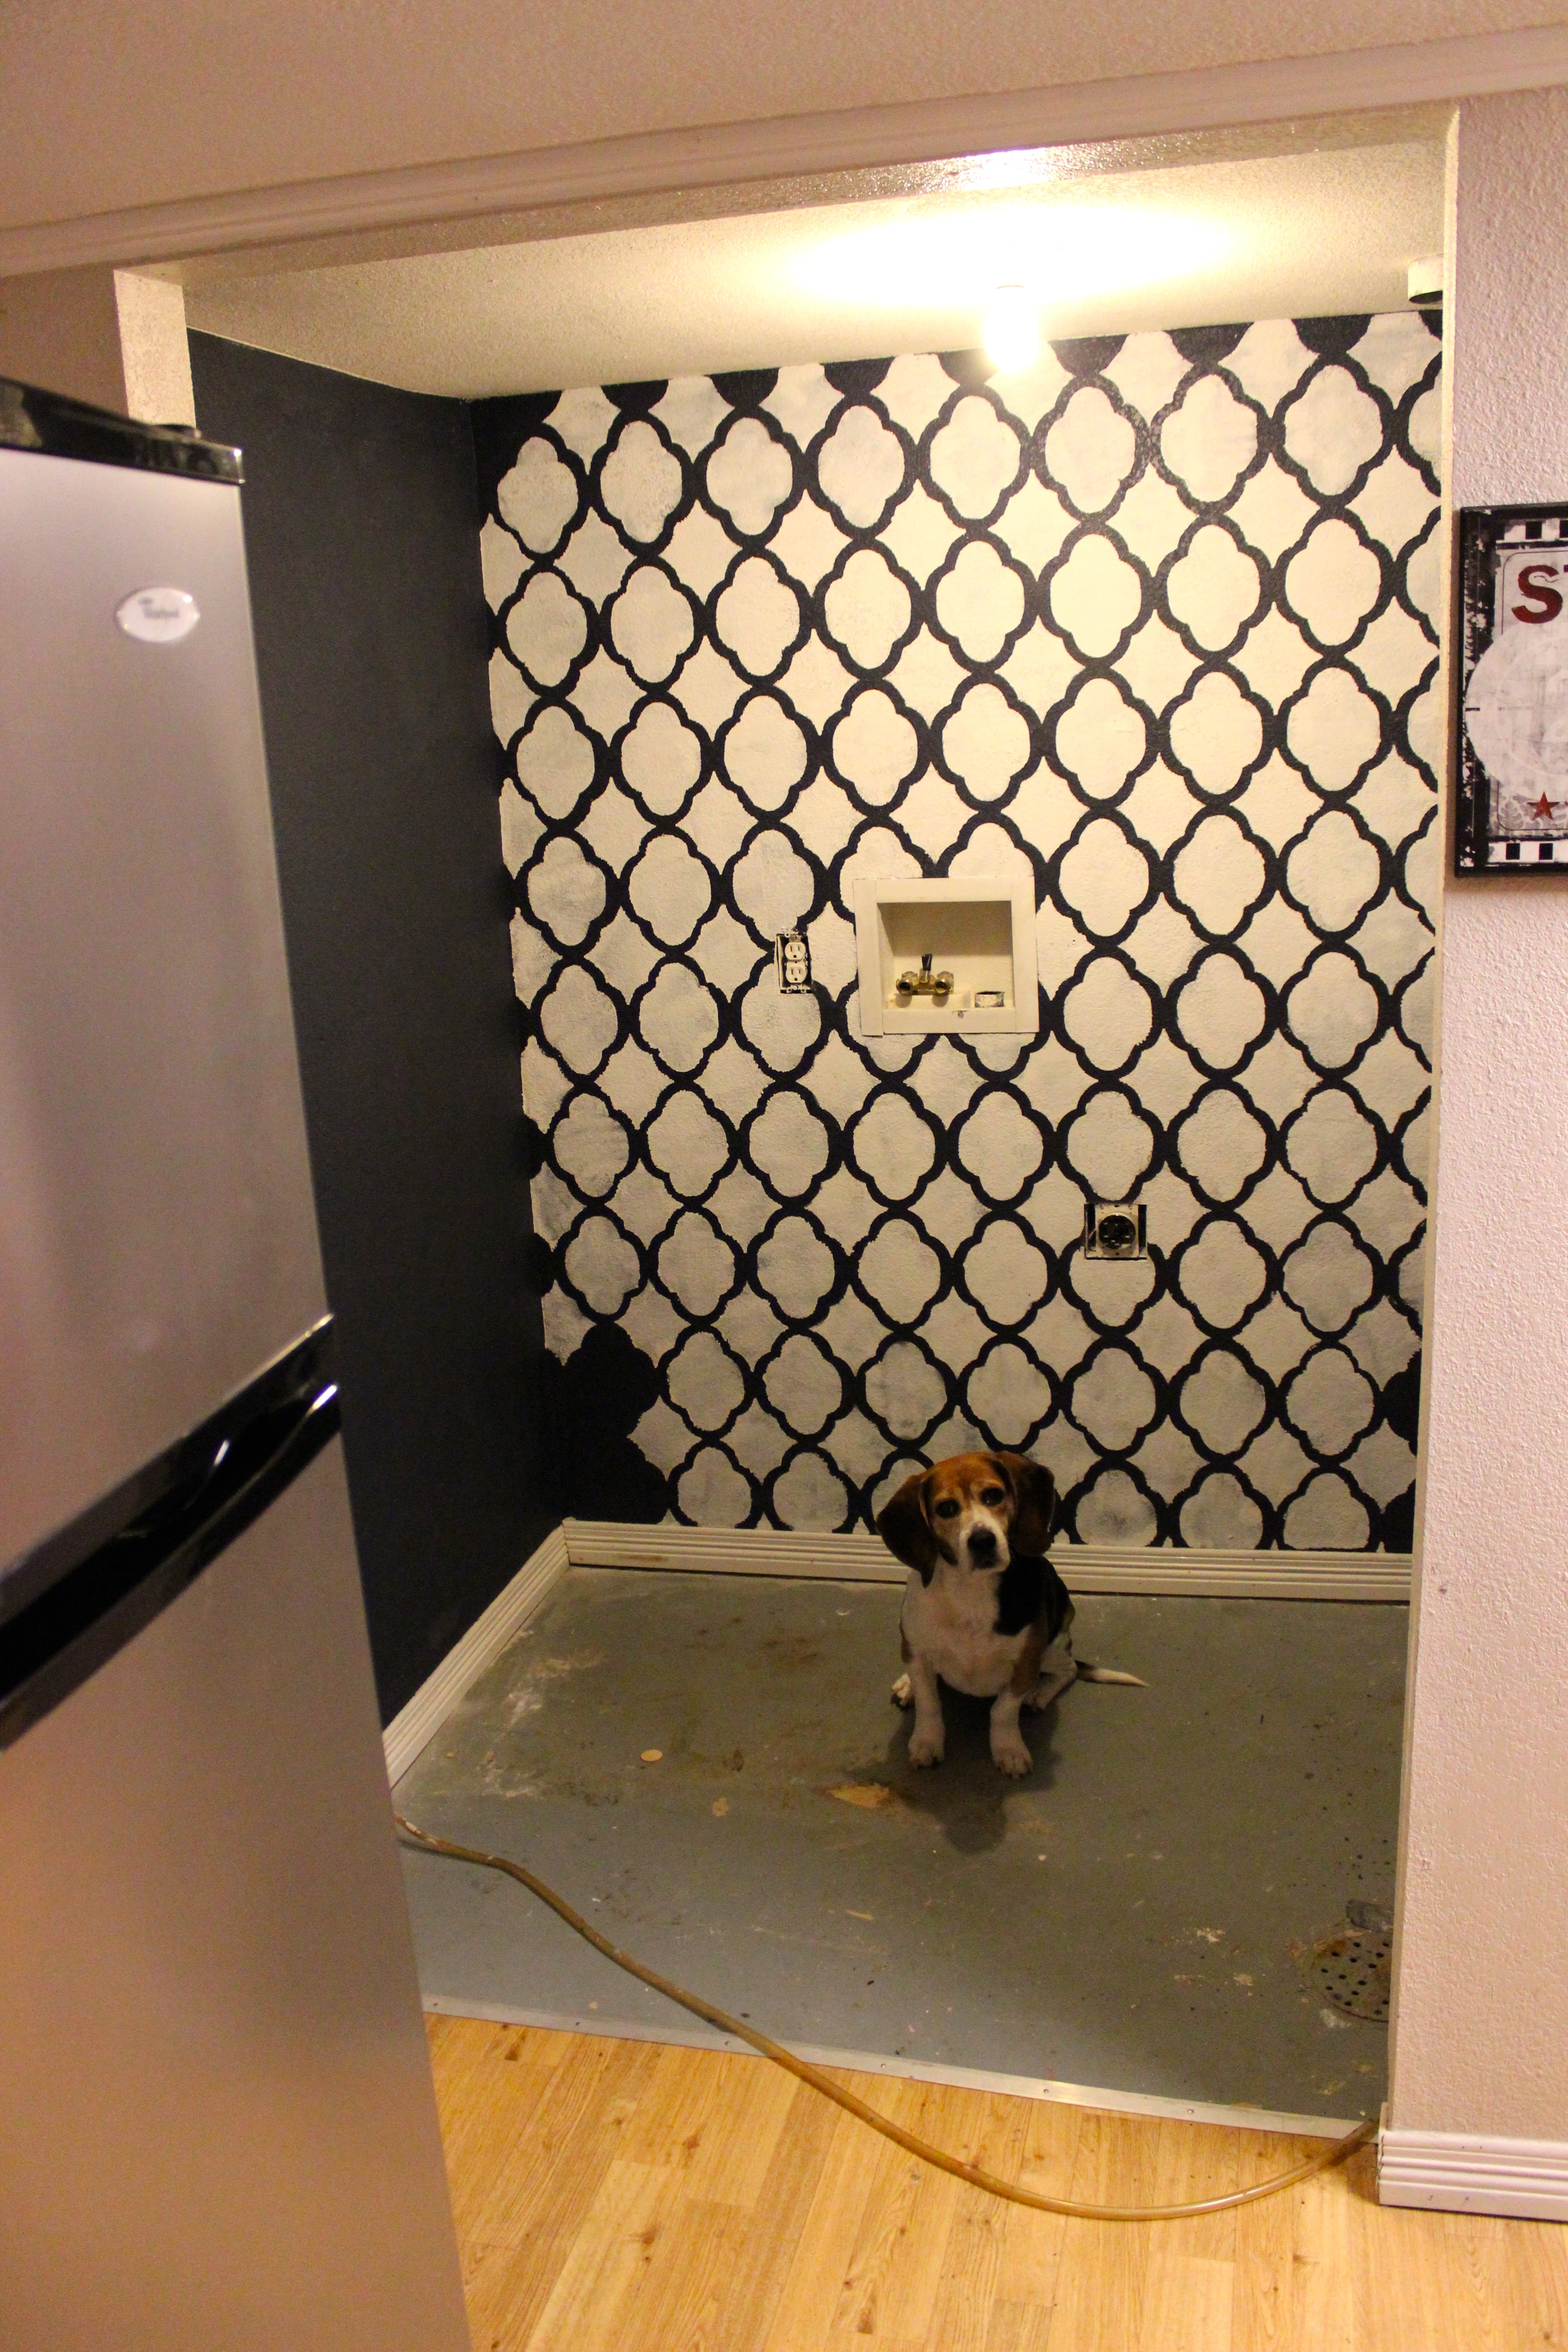
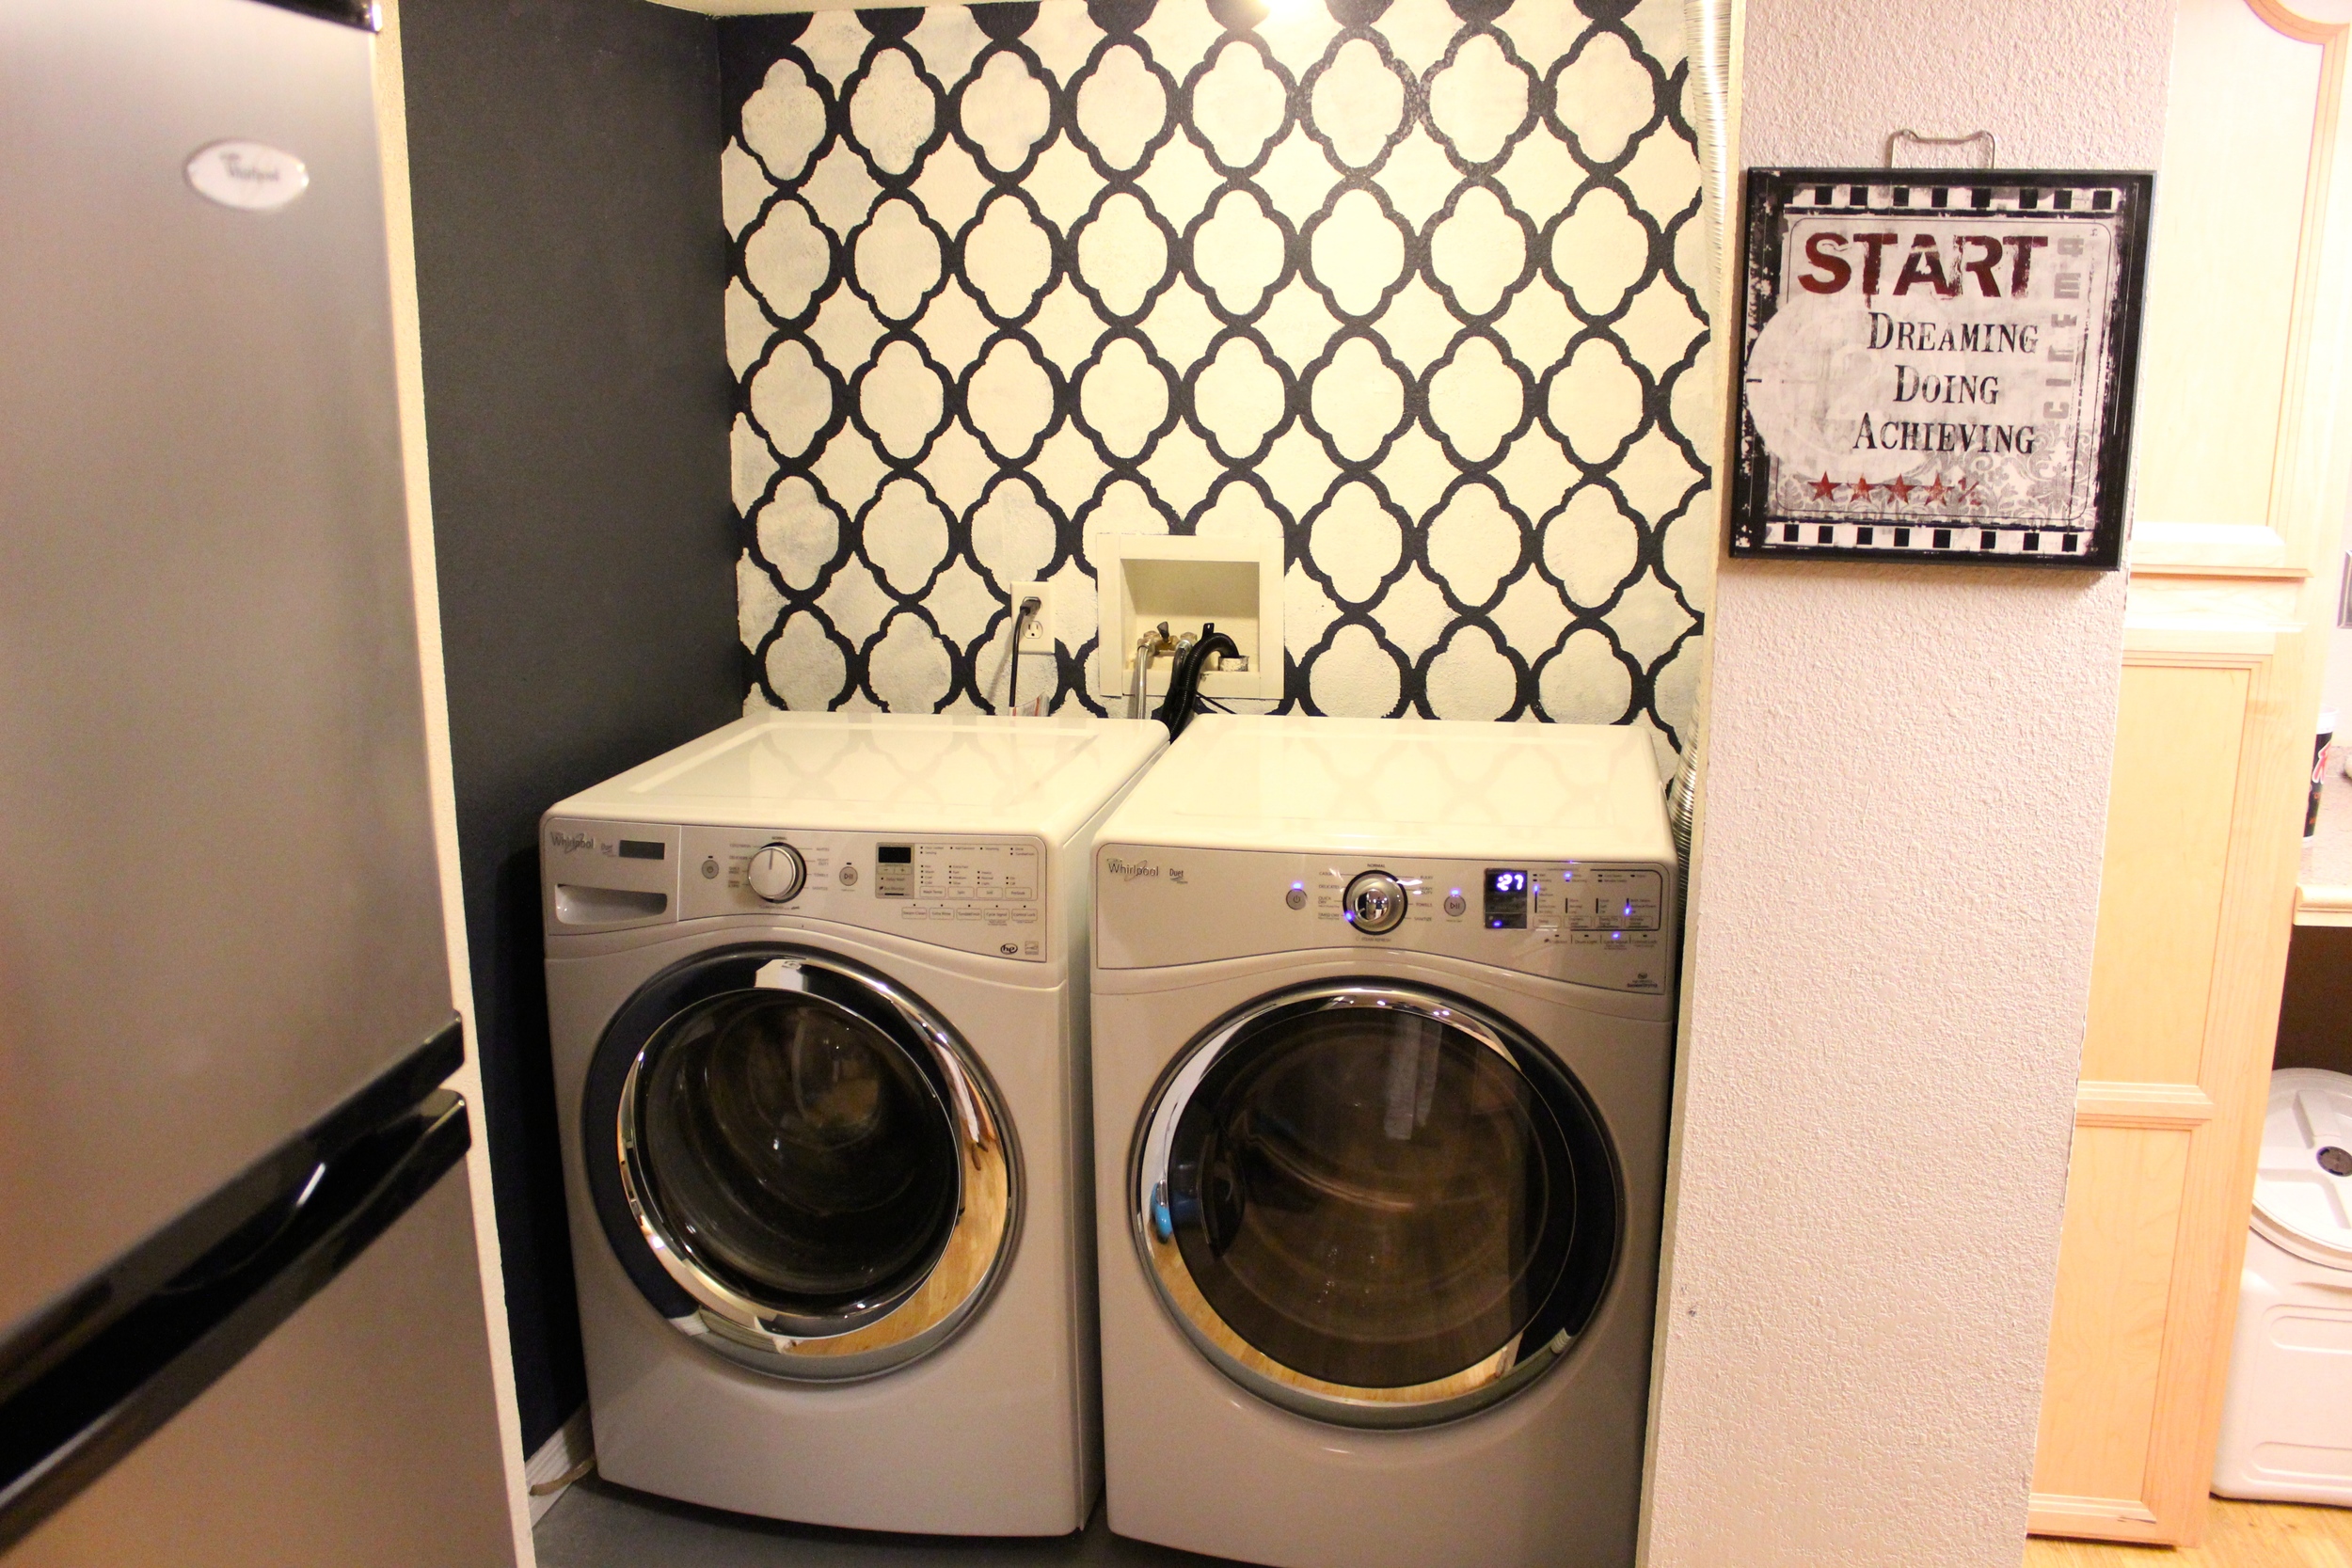
And here she is! All done! Old washer and dryer gone.
"What is happening?!?" - Skipper
Now that this room is functional again we are back to washing everything in our house! Two weeks without a washing machine meant that I had 9 LOADS of laundry to do. Thankfully, our new washer and dryer are great. I will post my review on them in another post, but I am so happy with how the stenciled wall really allows these beauties to be featured. So crisp, so clean, so fresh, so much better than where we started:
Tomorrow, I'll update ya on the design we went with for some storage needs in the laundry room. Who wants the stencil? Who likes it even though it took a ton of work?